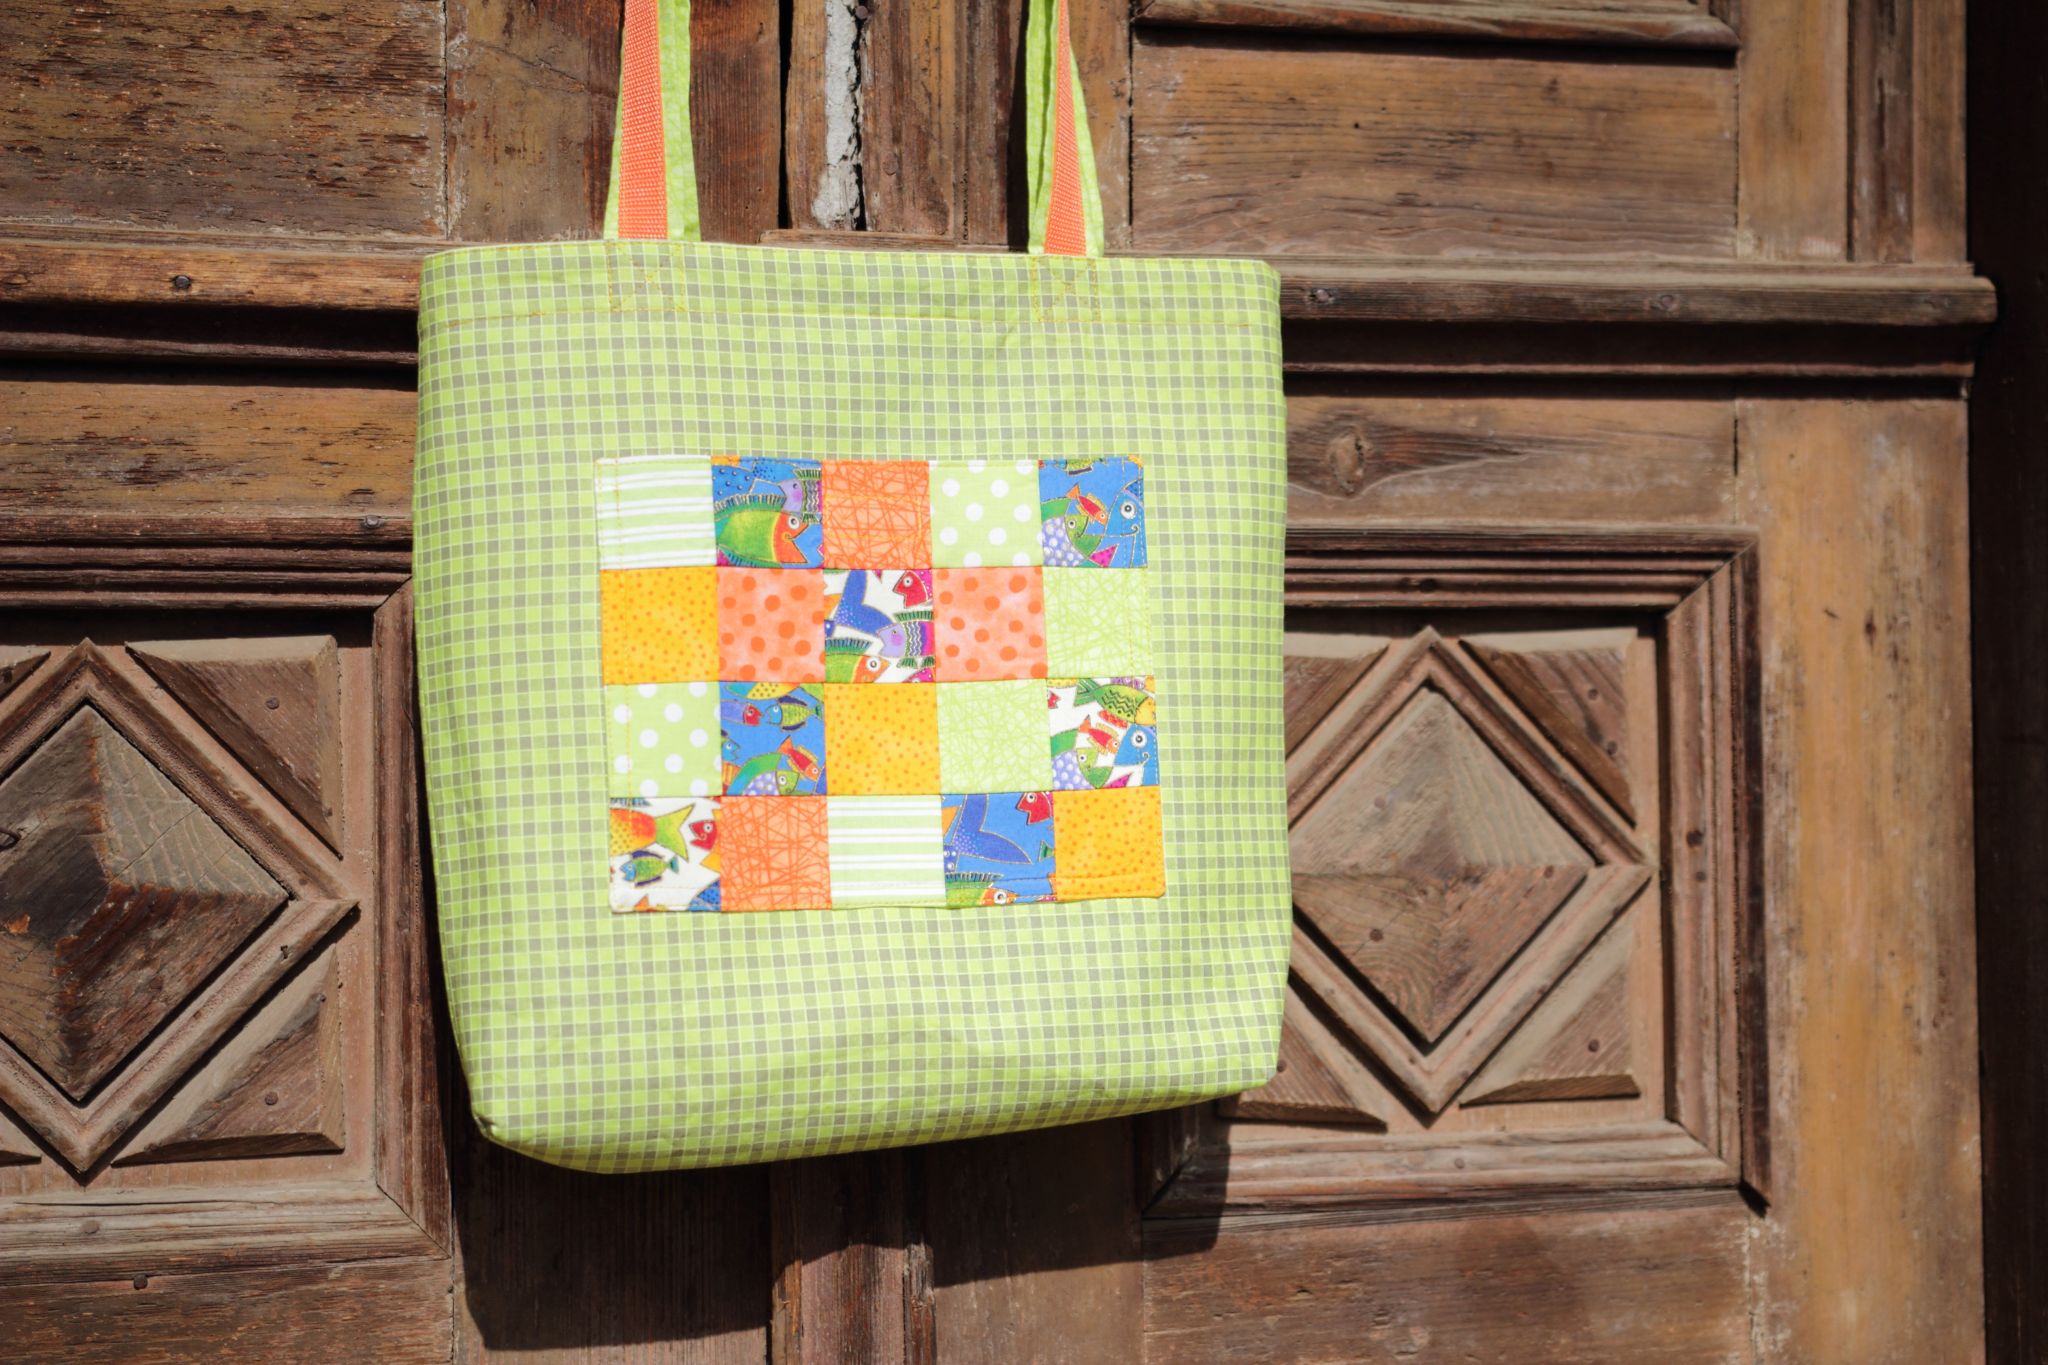
Welcome to the DIY tote bag tutorial! I’ll show you how to create a stylish and practical tote bag with a patchwork design and zip closure.
The size of the tote bag is approximately 15 x 16 inches.
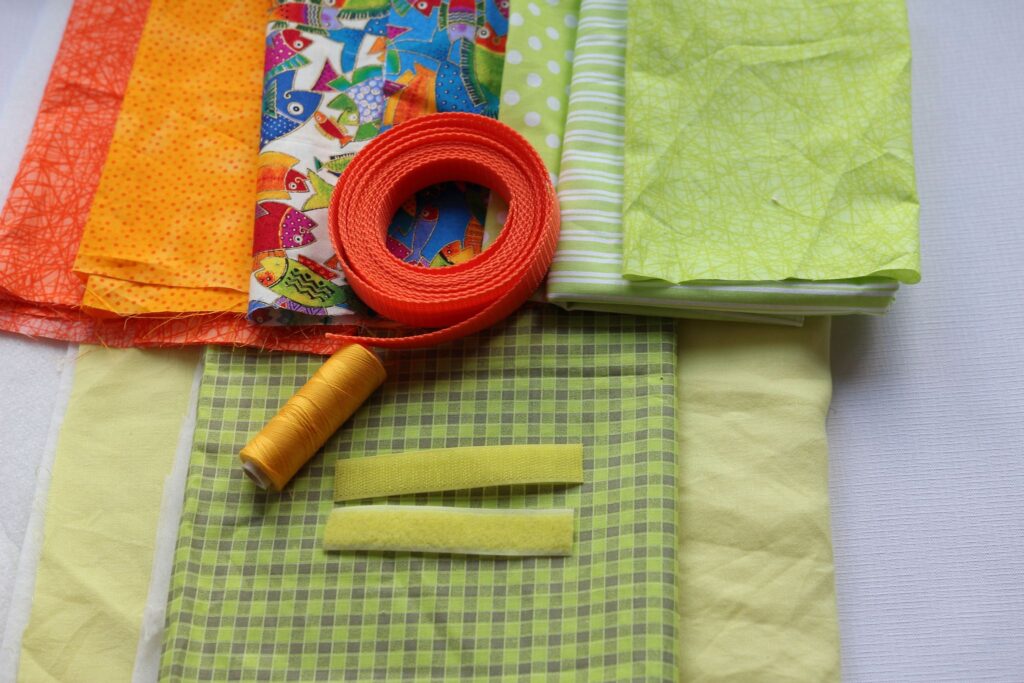
We will need the following material:
- Checkered fabric 34 x 55 in,
- Yellow fabric for lining 34 x 55 in
- Small pieces of colored fabrics
- Strip 67 inches long 1 in wide
- Ronofix interfacing adhesive on one side
- Interlining
- Velcro
- Threads
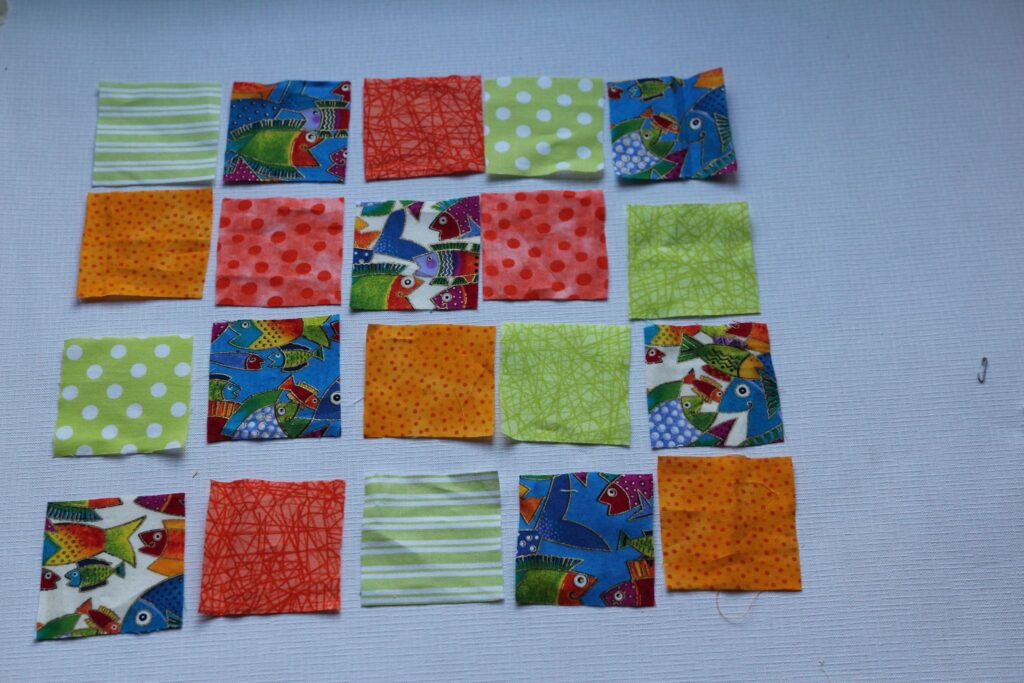
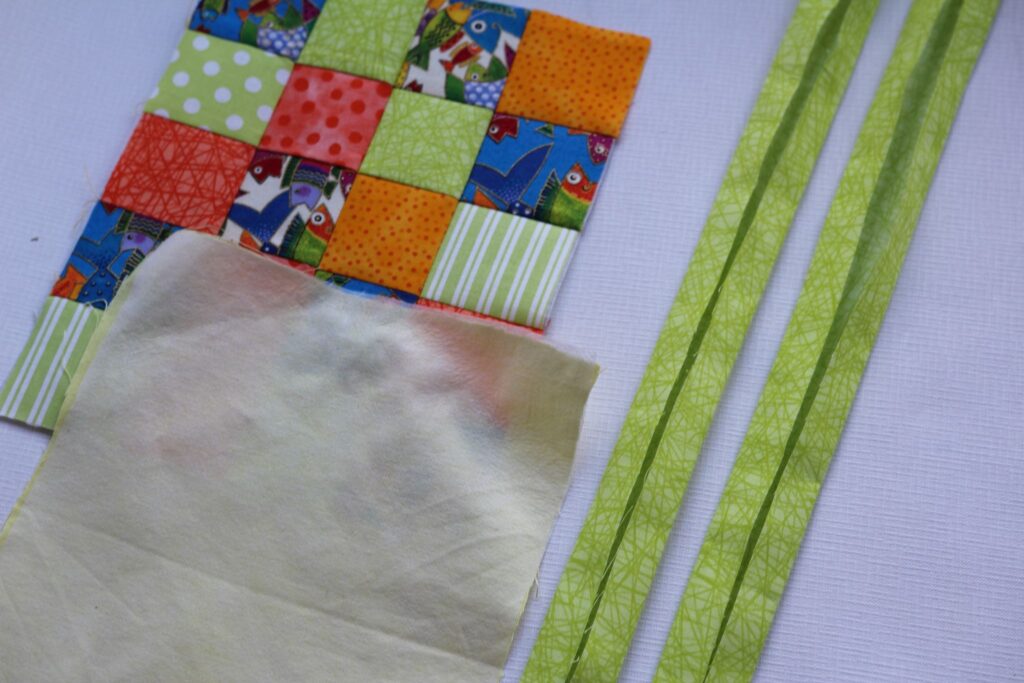
First, we cut 20 2.5 x 2.5 in squares from different colored fabrics.

On the wrong side of the interfacing (non-adhesive side) draw a grid of the size 2.5 x 2.5 in.

Now we place the squares on the grid and iron.

We fold on the line and sew all vertical lines on the machine. Iron to one side.

We sew all horizontal lines in the same way.
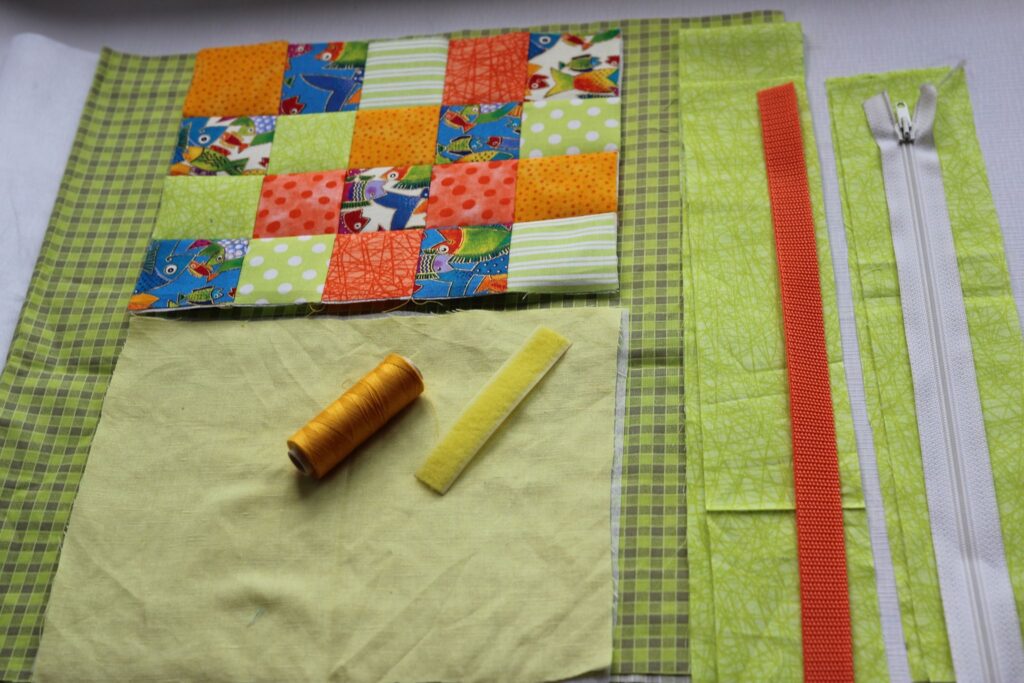
For the front piece of the bag, we cut according to the pattern of the front piece, lining under a colored pocket, two handles, and two strips for zip.
Now we iron the interfacing on the pocket lining and fold and iron handles, as shown in the picture.
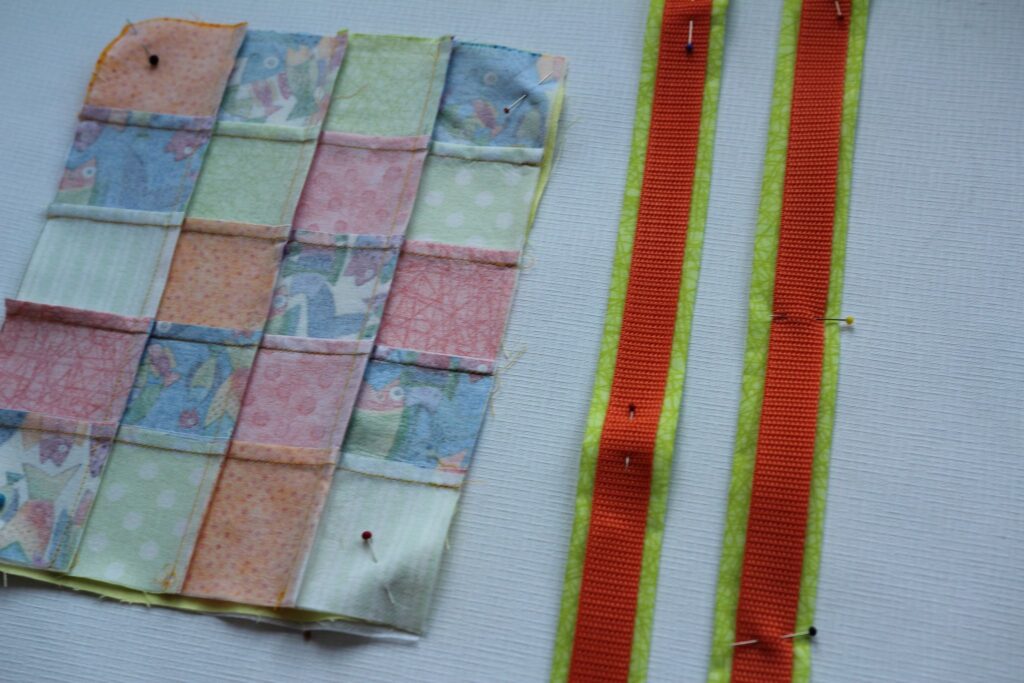
Then we place the pocket’s right sides together and pin. We pin strips in the center of the ironed handles.
Now we sew pocket together on machine and leave 4″ opening for turning out. Also, we sew strips on fabric handles.
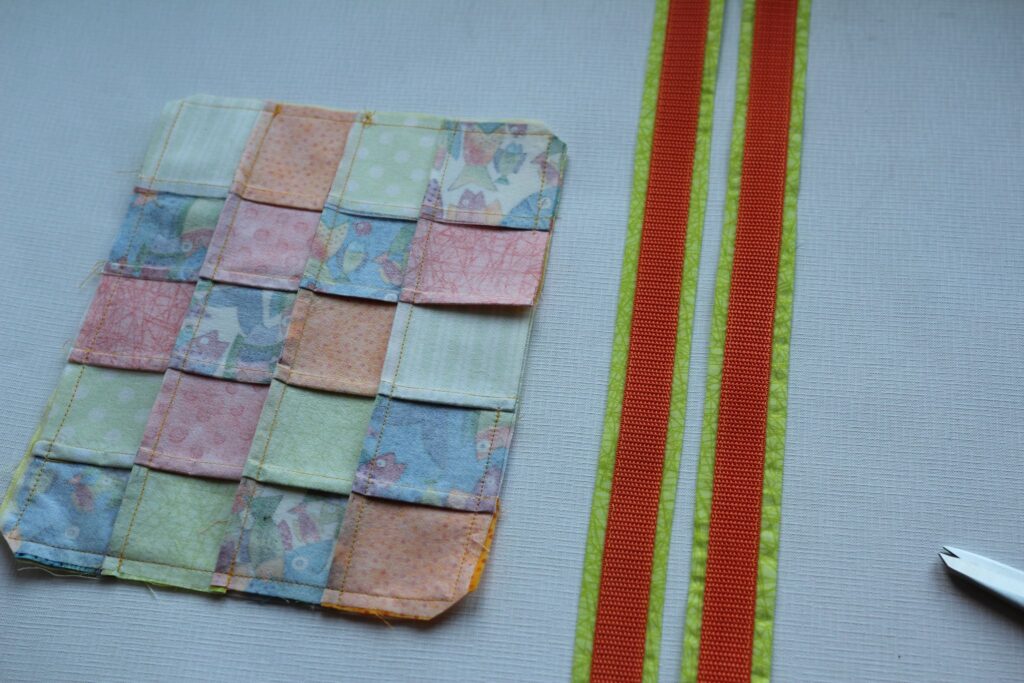
We turn the pocket right side out and pin and sew the edge at the top where the opening will be.
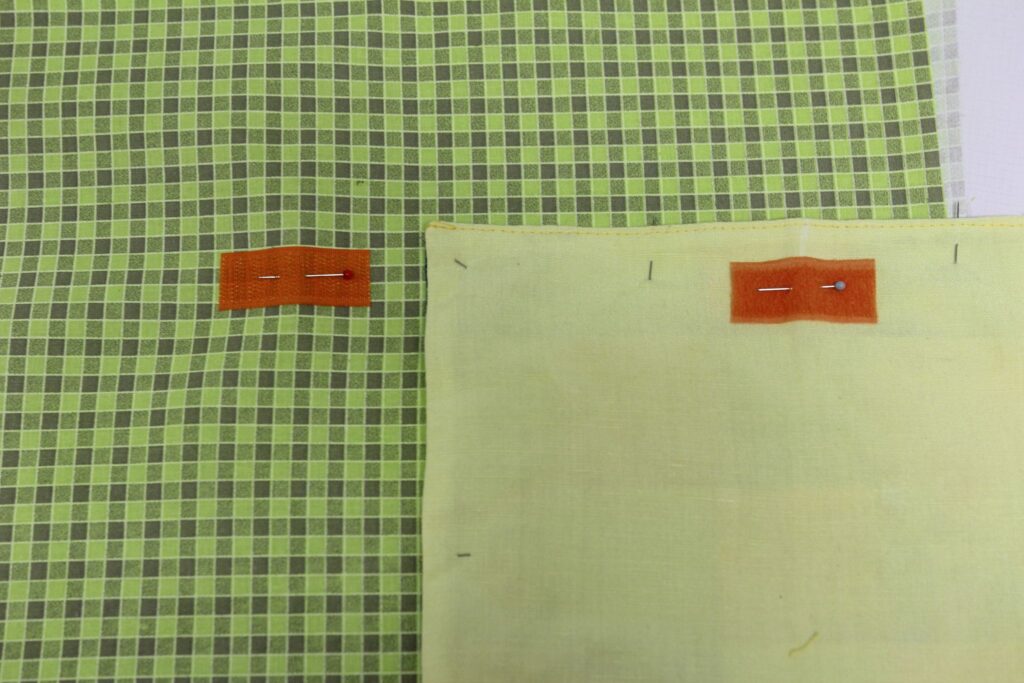
Then we can place the pocket on the front piece to determine where to place the Velcro. Pin one piece on the wrong side of the pocket and the other piece on the bag.
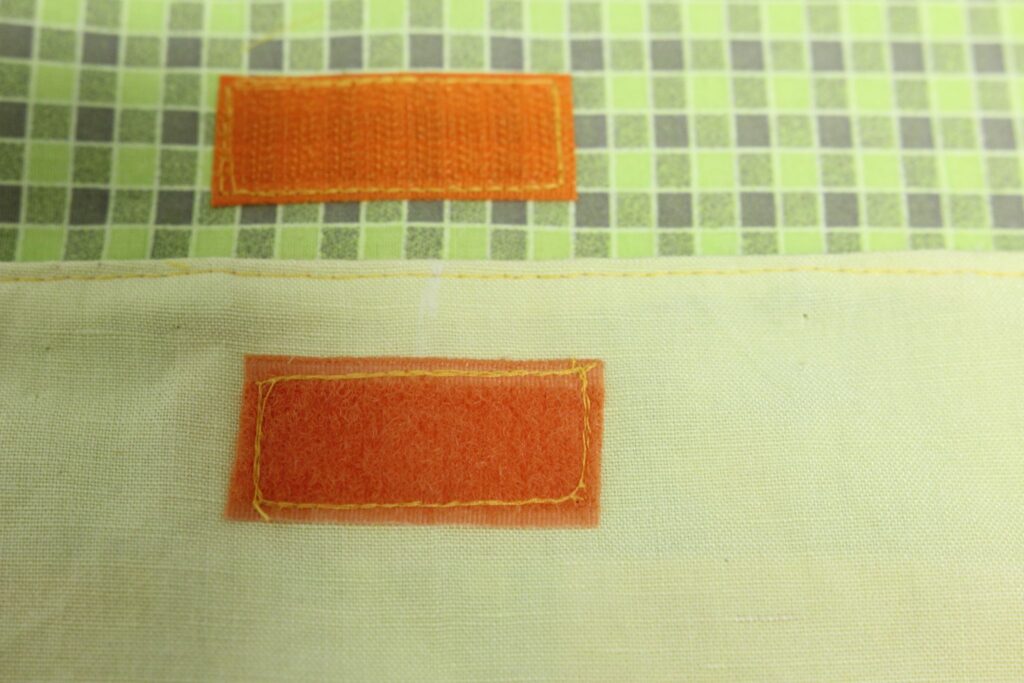
Sew on the Velcro.
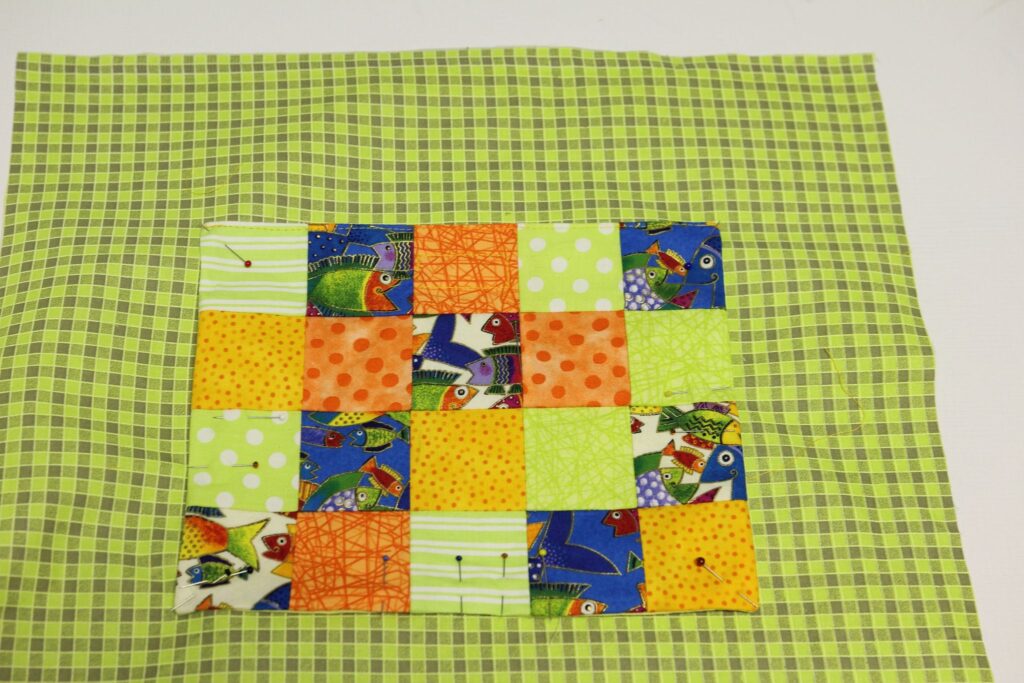
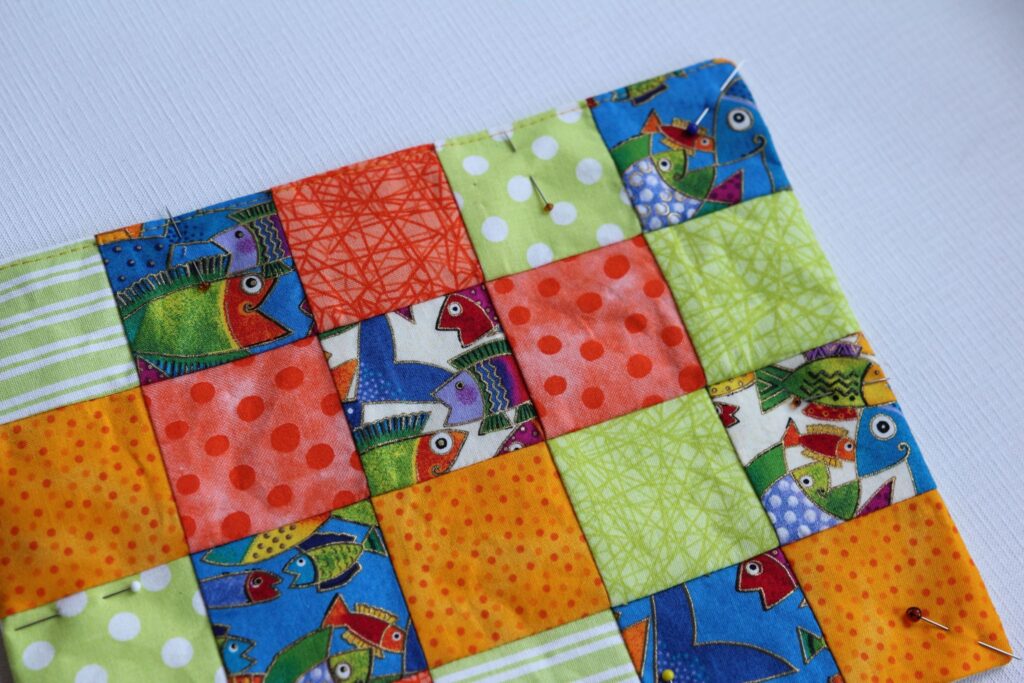
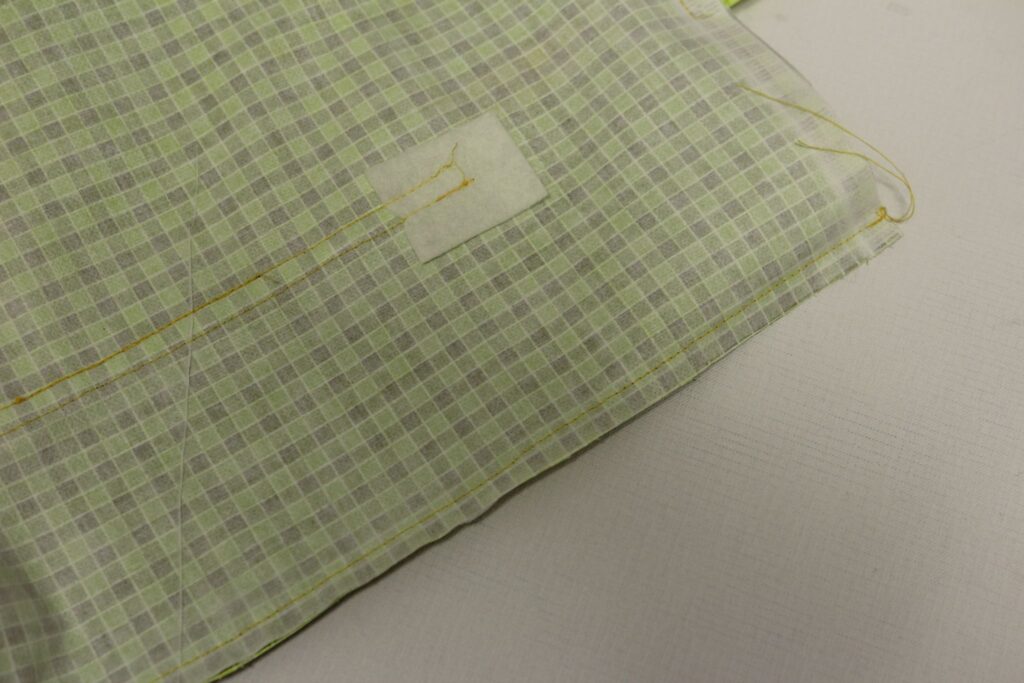
Let’s pin the pocket on the bag and sew on three sides. Put a piece of interfacing under the upper corners.

We measure 3″ from the center to each side and pin on the handle with the right side to the bag. The handles overlap the top part of the bag so that we can later sew a cross.
We put the bag’s right sides together and sew the sides on the machine.
Then we sew the corners and cut the endings.

We cut the lining, interfacing, parts for the zipper, and the pocket pouch.

We iron the interfacing on the lining pieces. We can start to sew the zipper pocket and sew small rectangles on the ends of the zipper, which we then fold and sew. Fold a large part of the lining, pin, and sew on the bottom zip. Attach the pocket pouch right side to the wrong side of the zip and sew.

Pin on top piece of lining.

Sew…
Fold the pocket pouch 0.8″ on the zip and pin.

Now we sew the pocket pouch on the machine.
Finally, we sew the zip once more on top and on the sides.
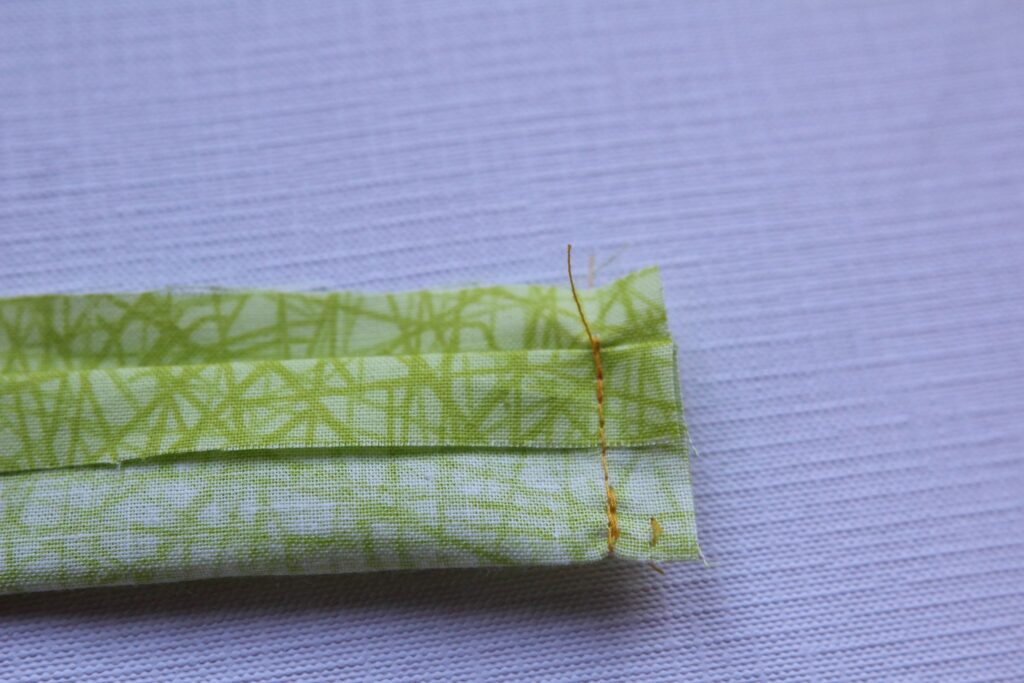
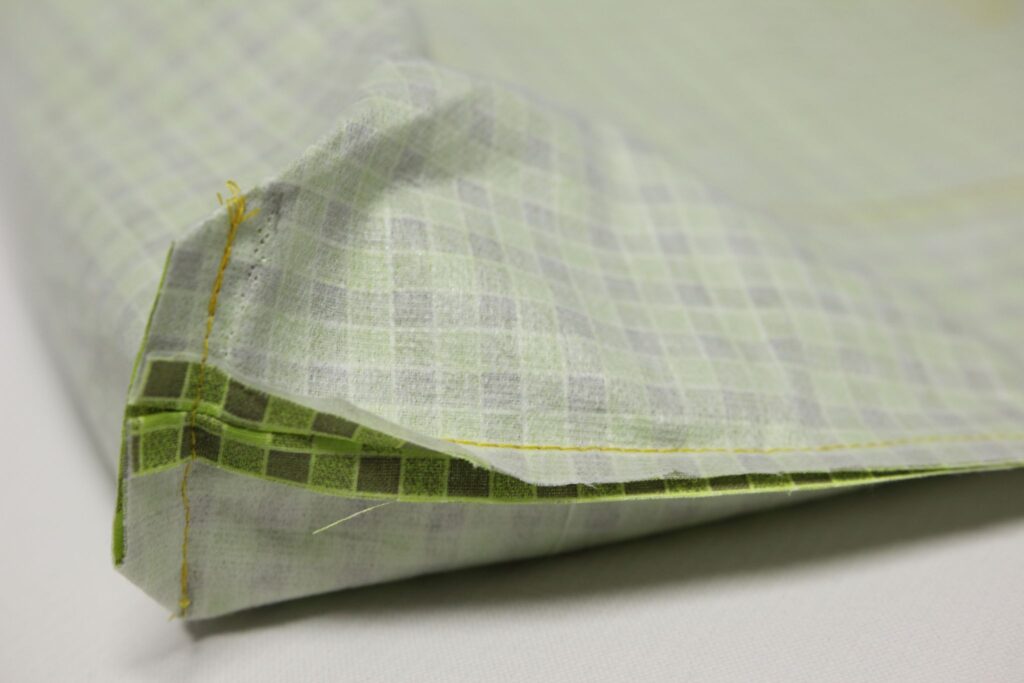
Now we fold the strips for the zip in half and iron, fold one side 0.4″ inward. Turn right sides together and sew one the sides.

Then we turn right side out.

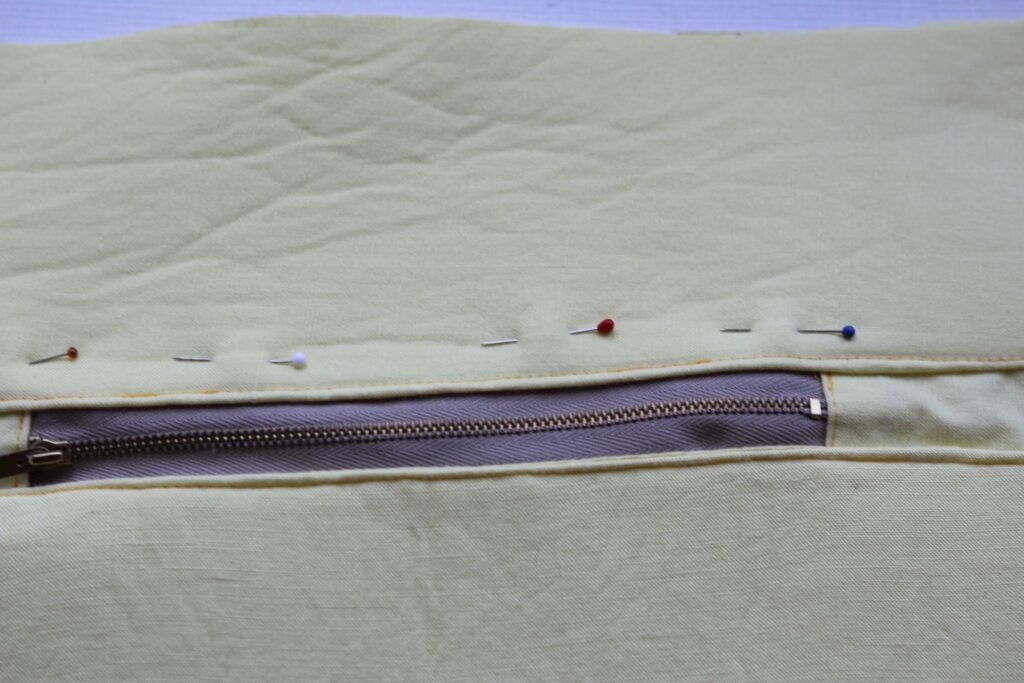
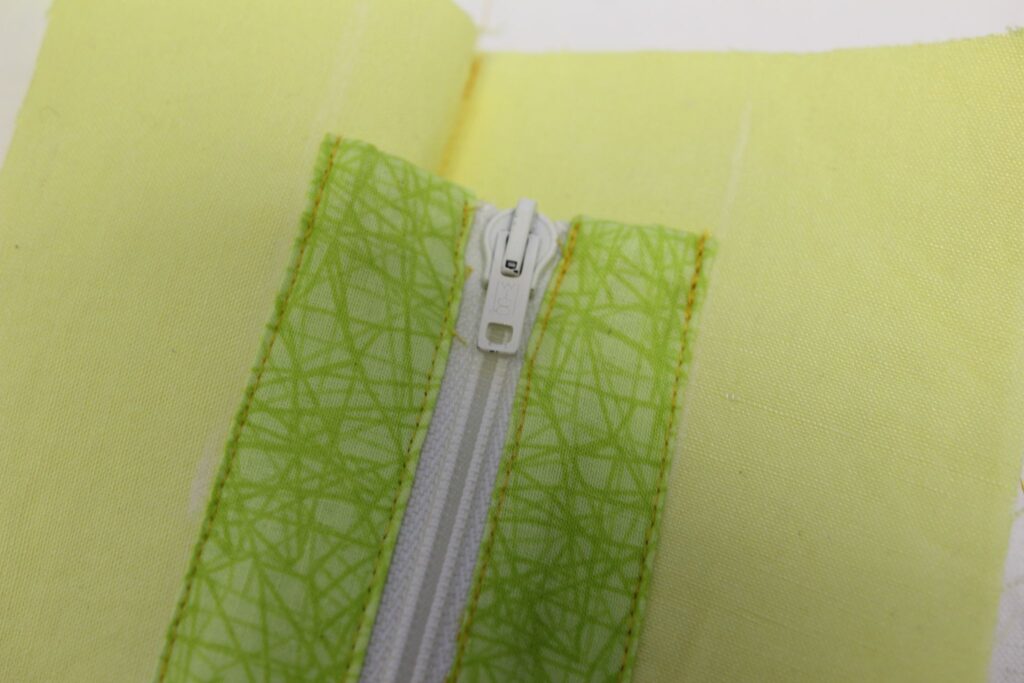
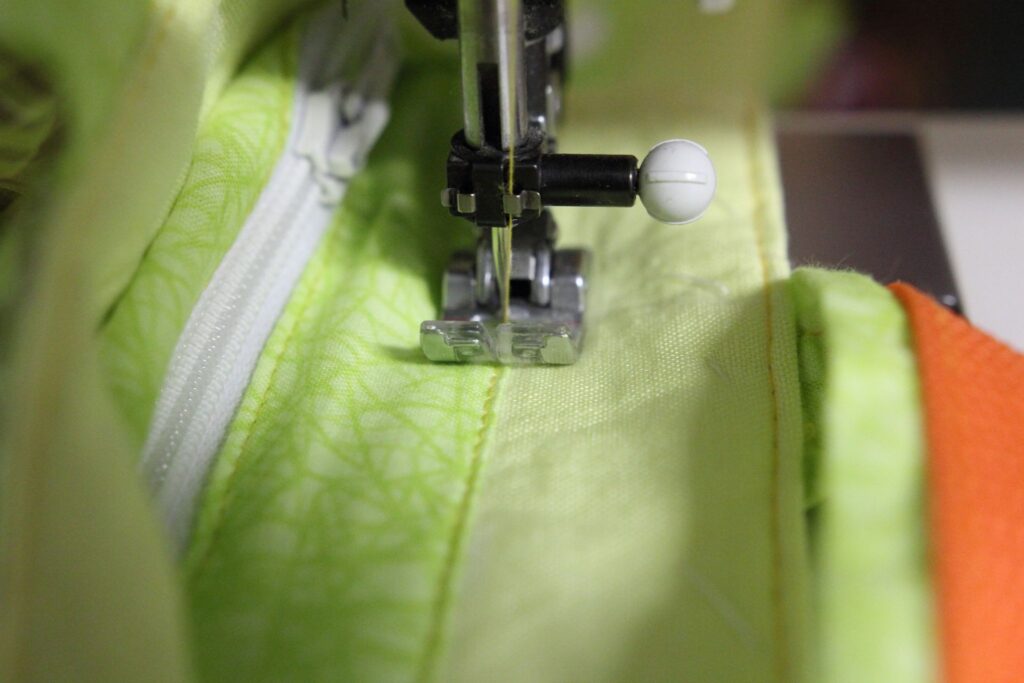
And place the zip wrong side to the right side of the strip and sew. Turn the zip right side out and pin on the fabric.
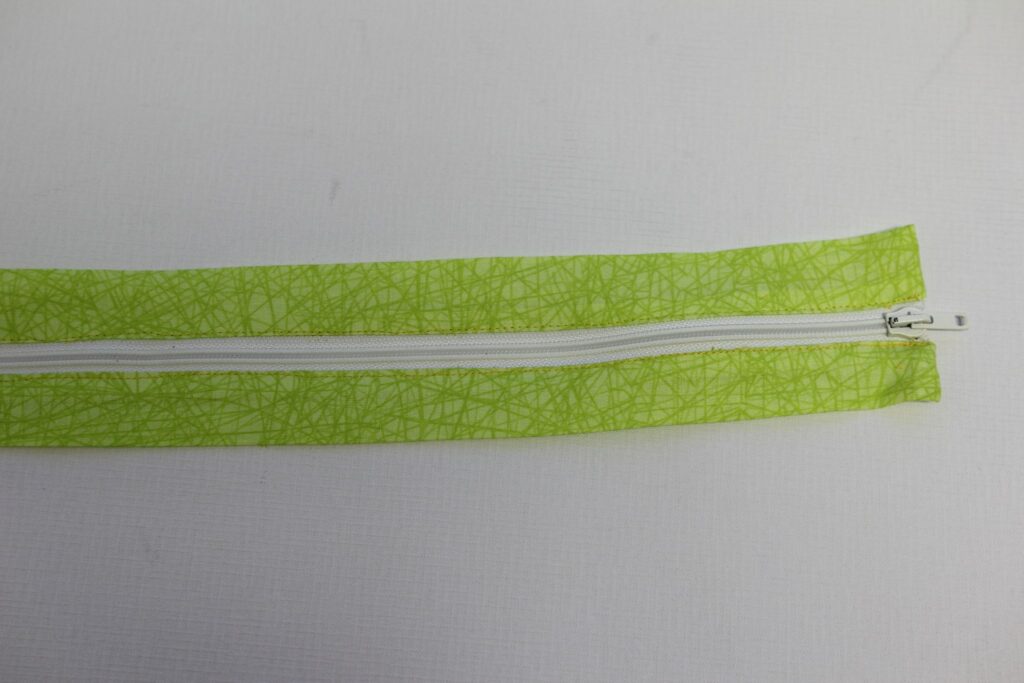
Sew the zip on the right side.
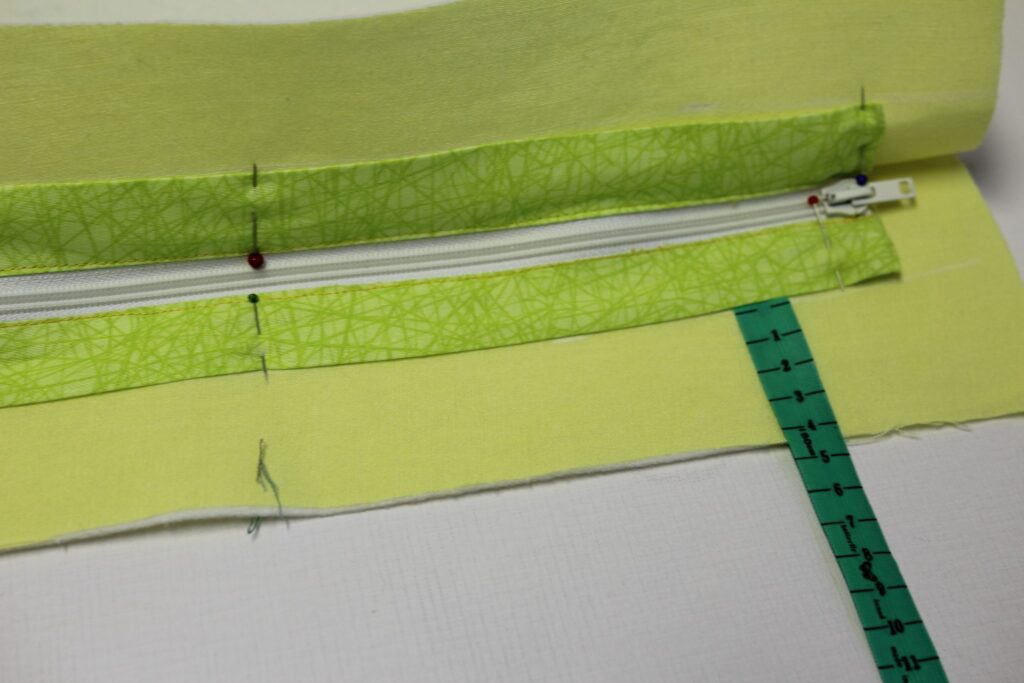
Now we mark the center of the lining and the center of the zipper piece, attach 1.8″ from the top edge, and pin.
Now we sew edges on the machine.

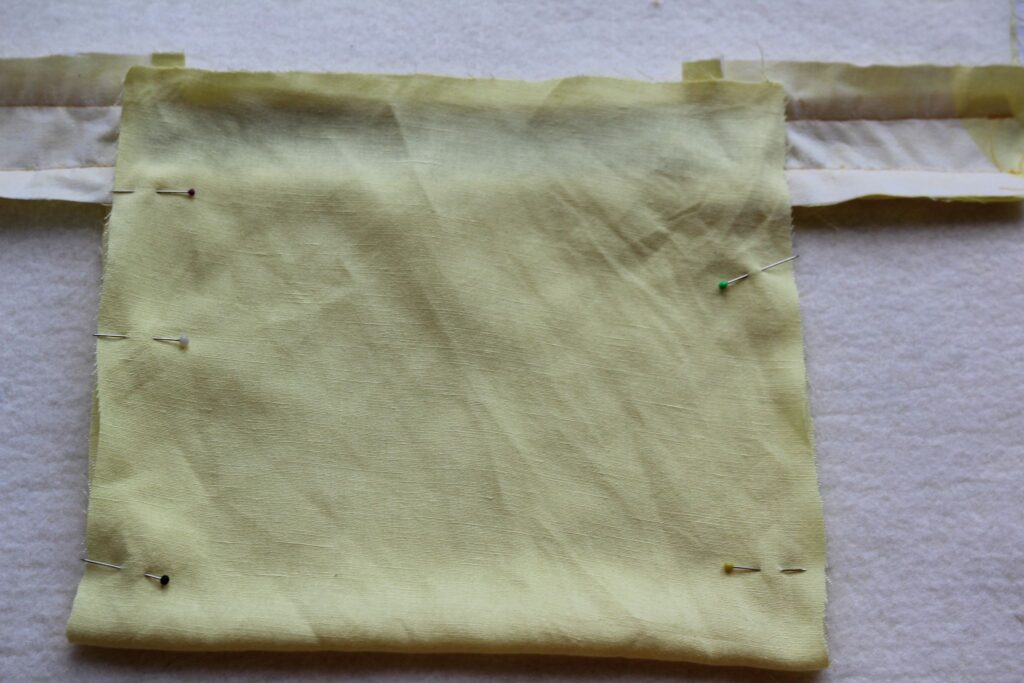
Then we place the lining piece on the fabric right sides together and pin
Sew on the machine…

And sew corners and cut 0.8″ from the seam.

Then we place the bag and lining on each other right sides together and sew all around on the machine, leaving an opening for turning out.

Finally, we turn bag right side out and stitch all around, and sew the edges. Sew in the place where the strap and zip were sewn on.
