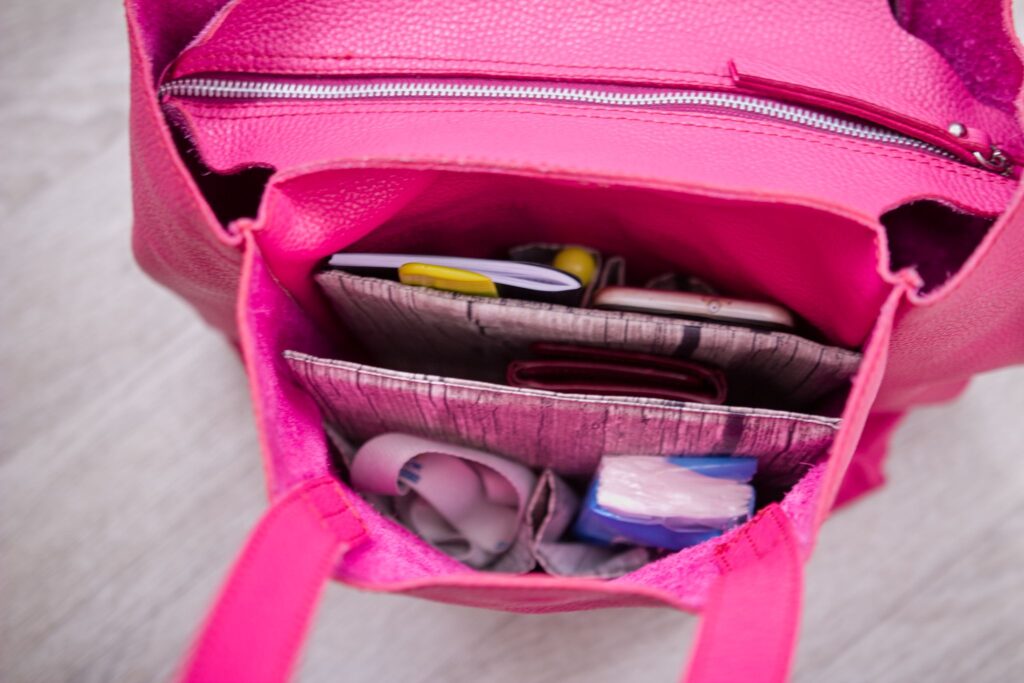
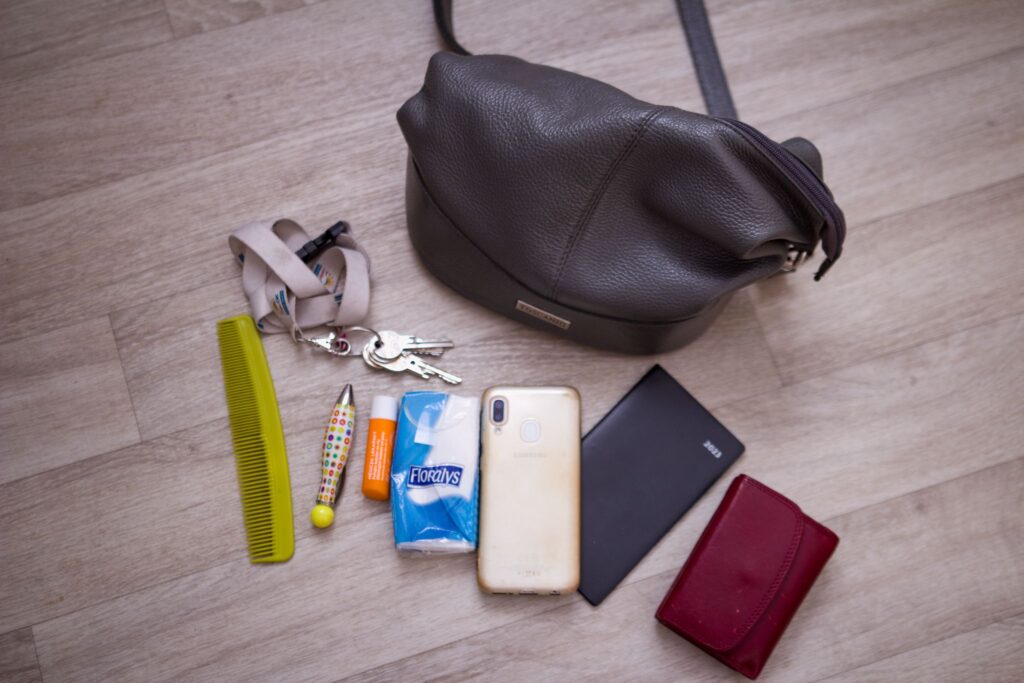
Are you tired of digging through a cluttered purse to find your keys, lip balm, or ringing cell phone? In this tutorial, I will show you how to make your own DIY purse organizer easily. With just a bit of sewing skills and less than 1 hour of your time, you can create an organizer to keep your purse arranged.

It’s a very easy sewing project, and except the fabric of your preference, you will need only cardboard as a support to make it the organizer more sturdy.
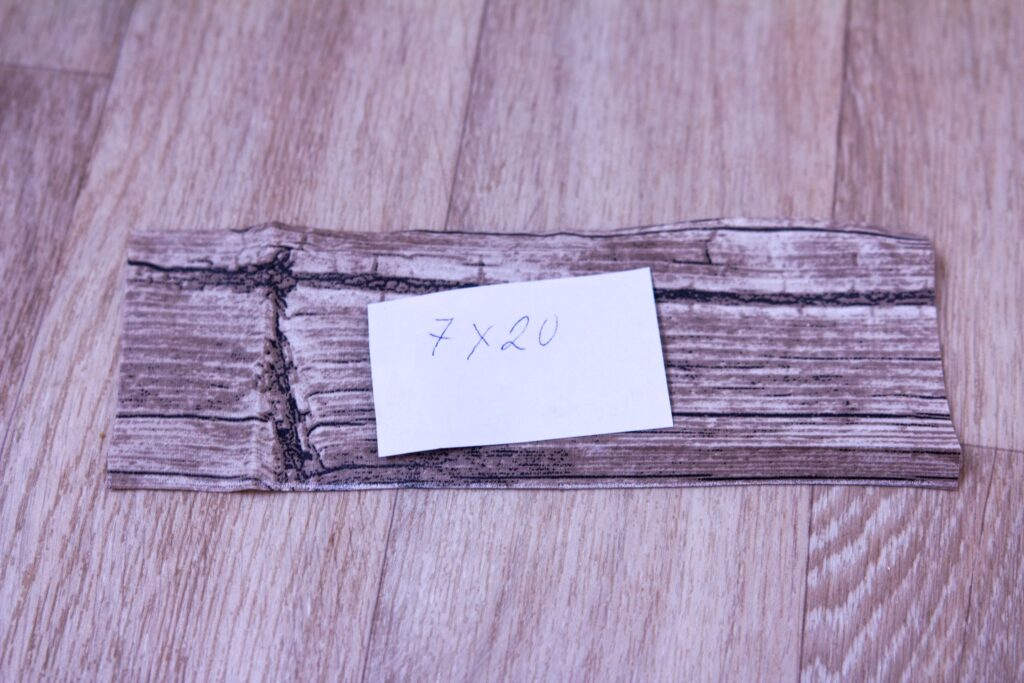
First, measure the inside of your purse to determine the dimensions of your organizer. For my purse, I will create an organizer 7 inches wide and 6 inches high.
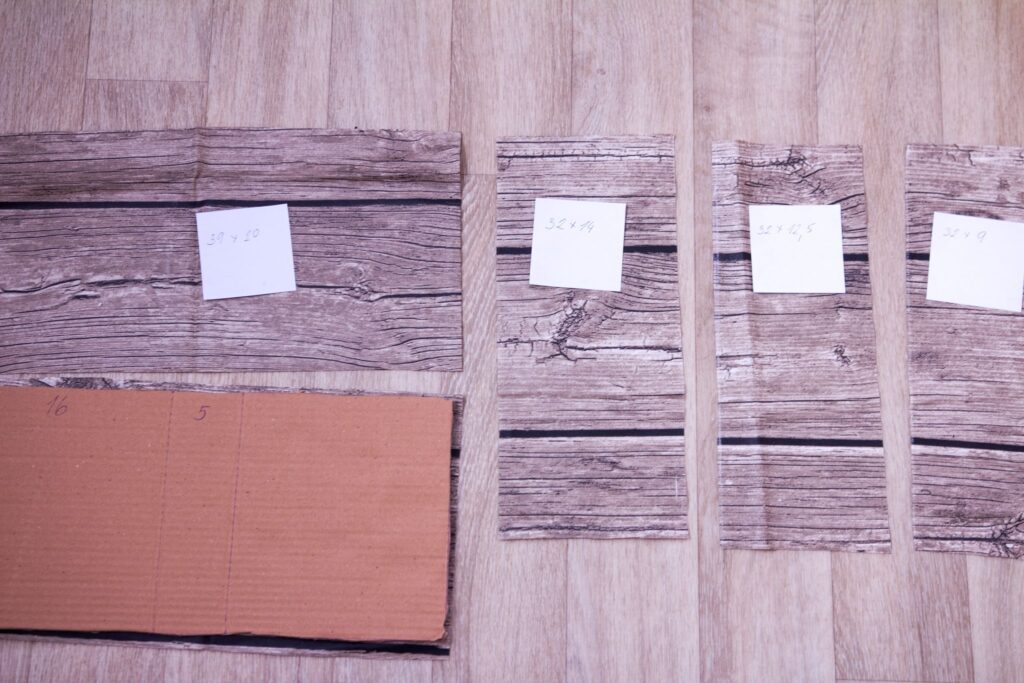
Then we will cut a cardboard and fabric for the organizer. The fabric is bigger for seam allowances (typically 1/2 inch). Next, we will cut out the pieces for the pockets. We will choose different widths so that they are easy to access. The length will be according to the desired depth of the pockets.
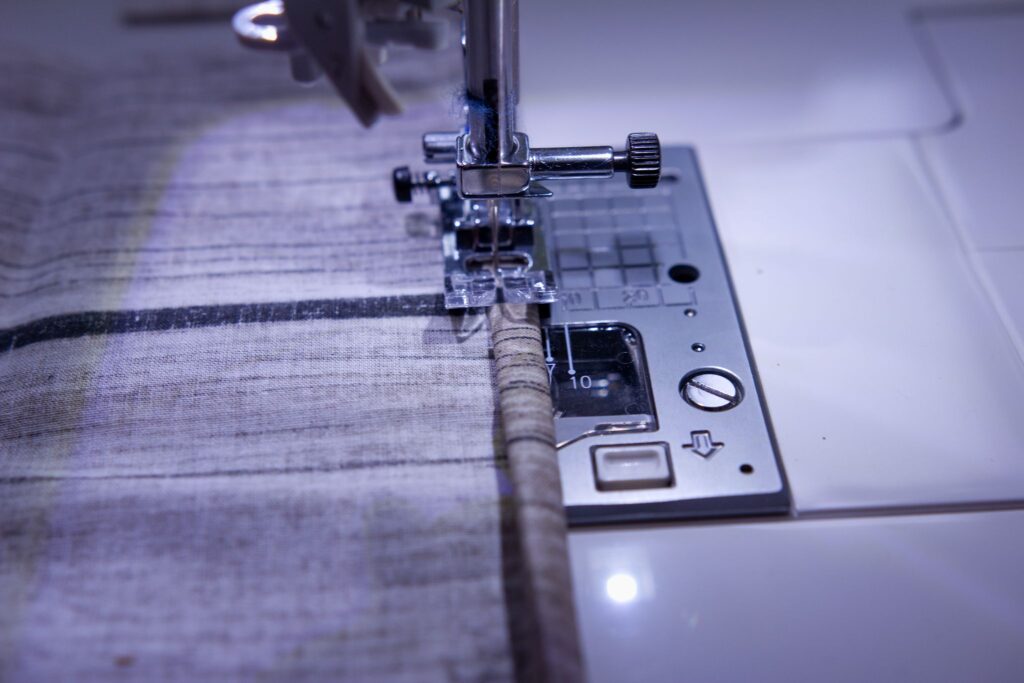
Next, we will fold the top side of the pockets twice and sew them.
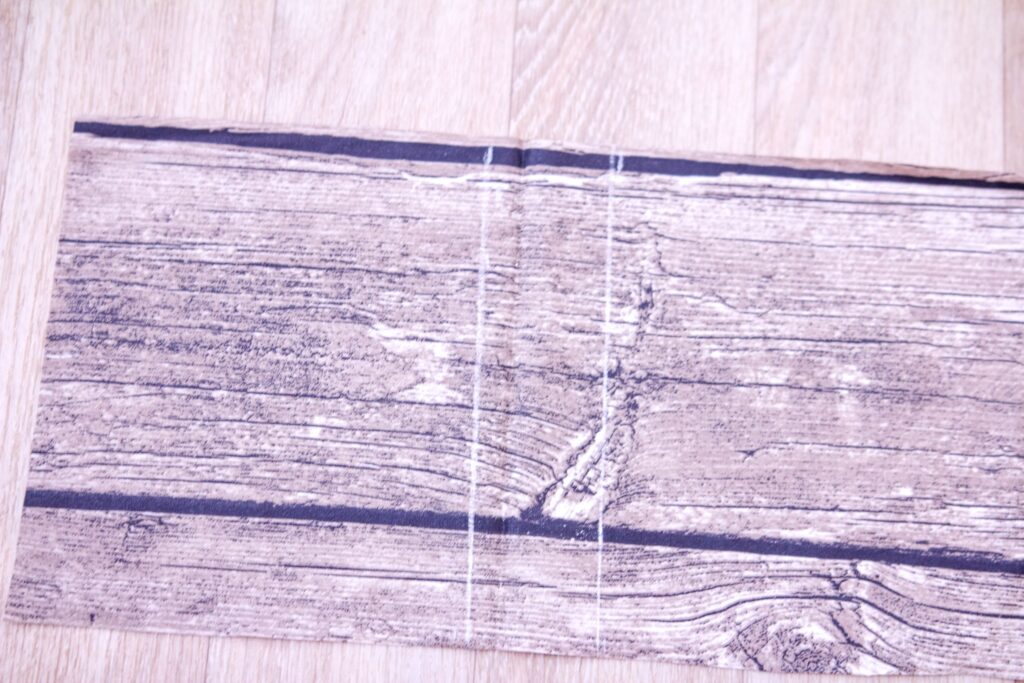
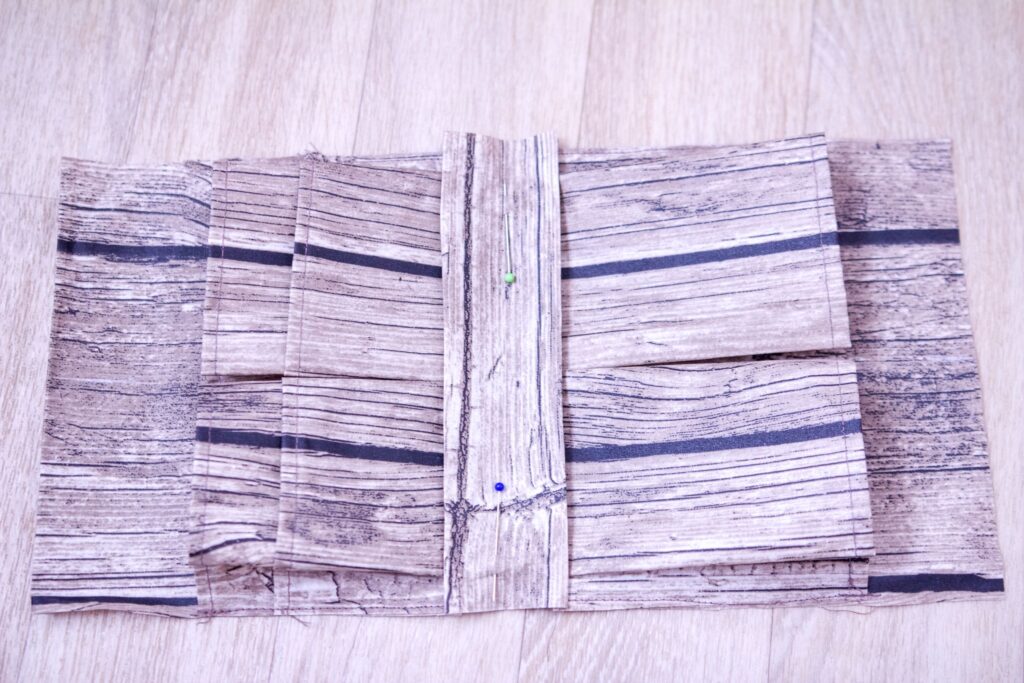
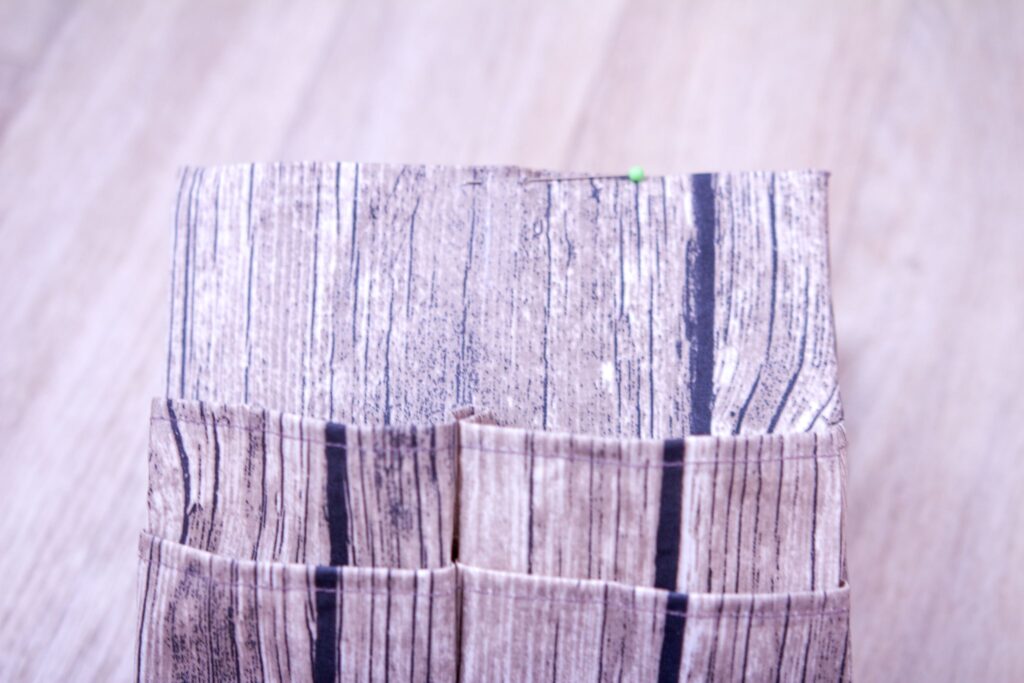
In the middle of the bottom part, we will mark the bottom so that we will know where to attach the pockets.
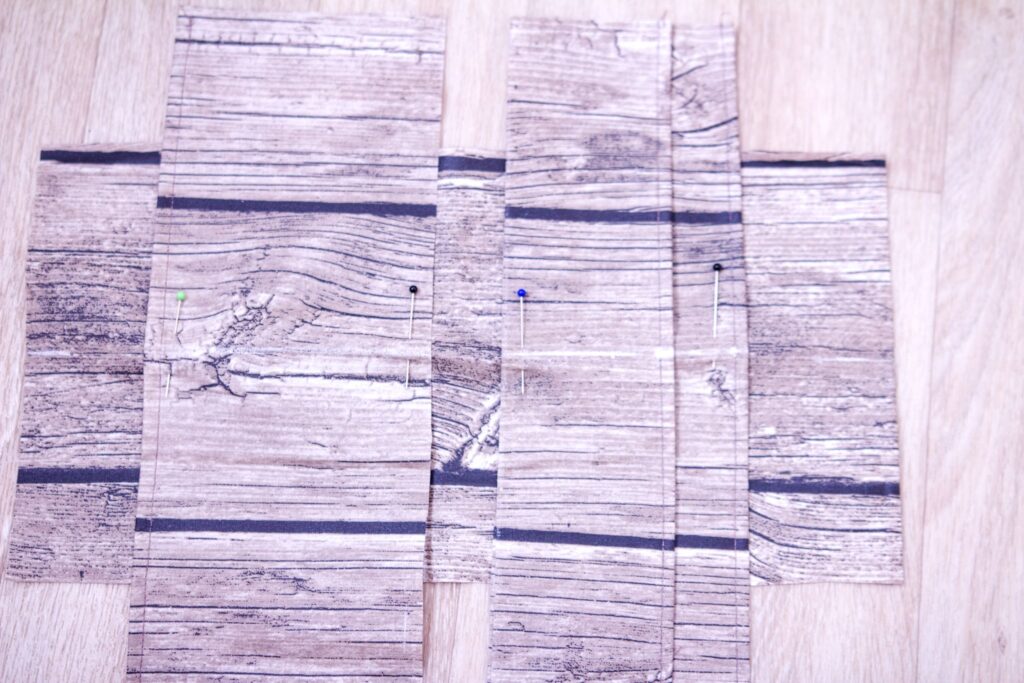
After we mark the center of the bottom part and the pockets, we can place and pin the pockets approximately 0.4 in below the bottom edge so that the seams will be hidden.
Next, we will sew the pinned pockets in place. We will end the stitch by lock stitch or back stitch to prevent it from unraveling.
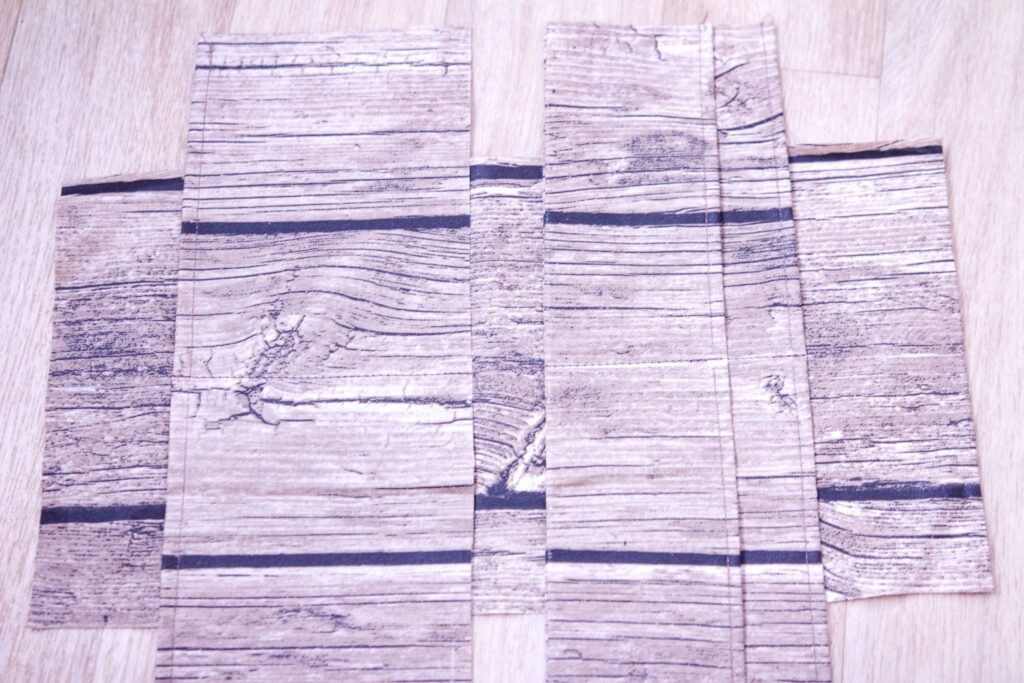
Now, we take the ends of the pockets and sew them in place.
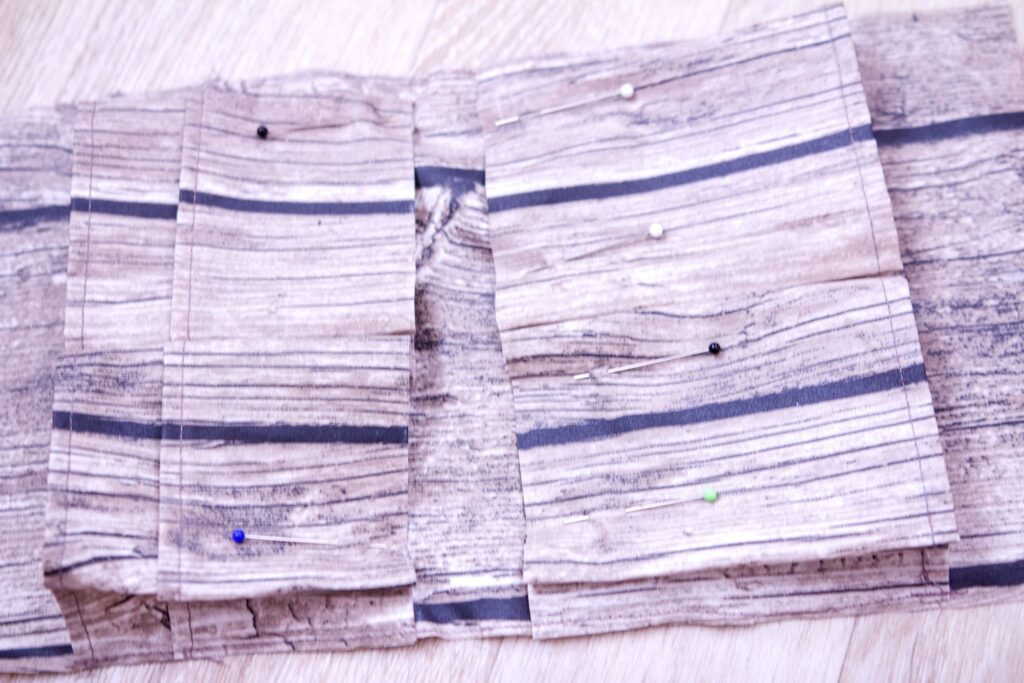
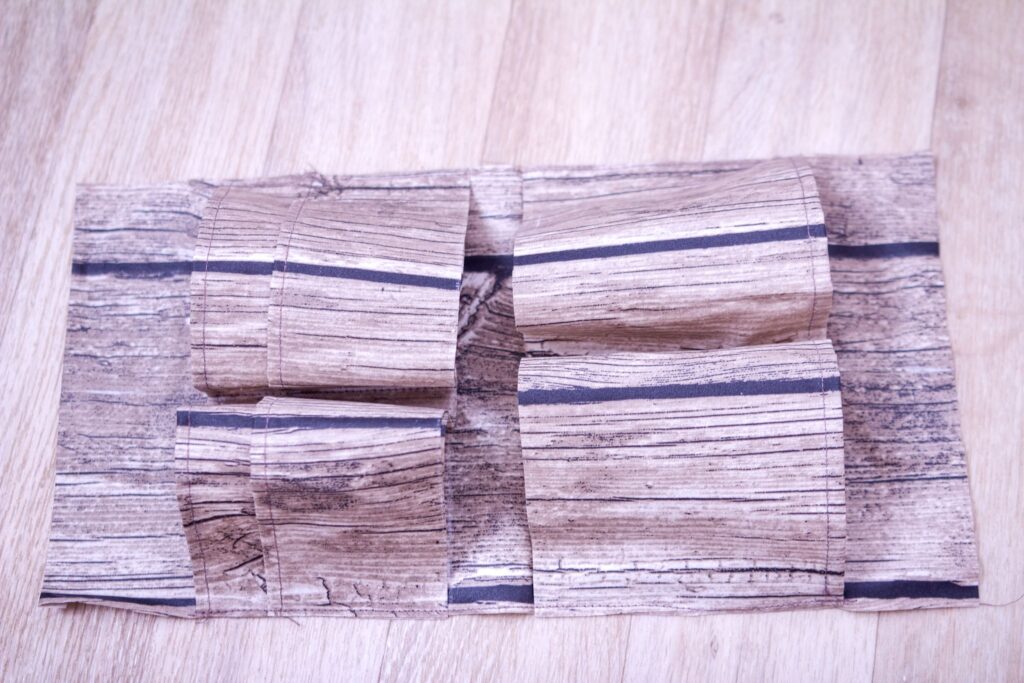
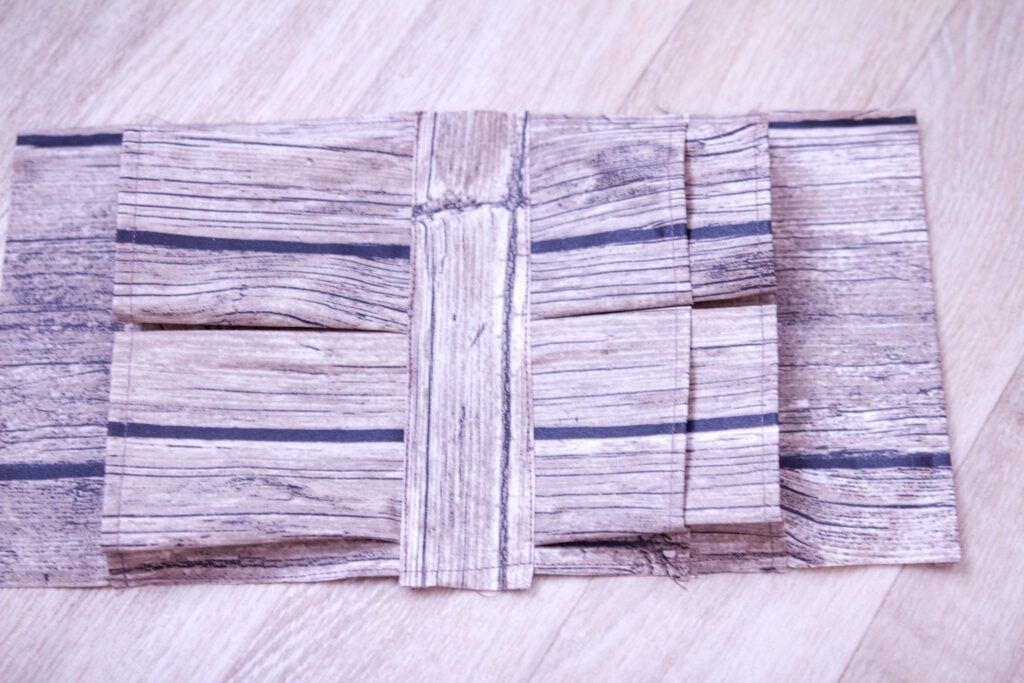
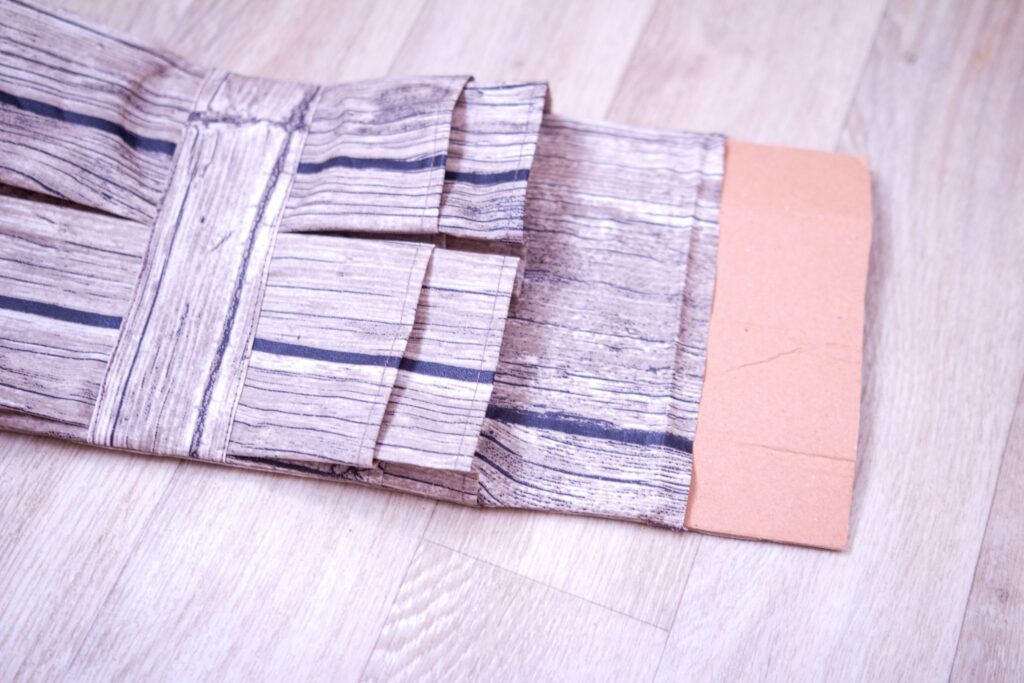
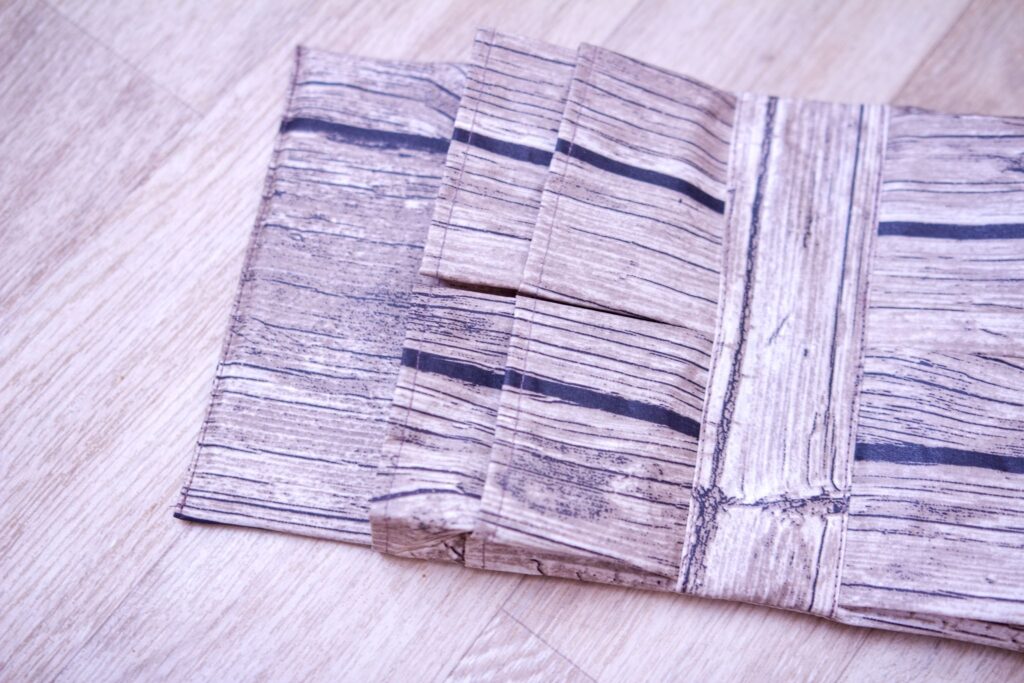
Next, we will fold the sides of the pockets in an accordion fashion, with the edge of the fold about 0.4 inches from the edge, and pin it in place.
Now we cut the bottom, with an extra 0.4 in on each side for folding.
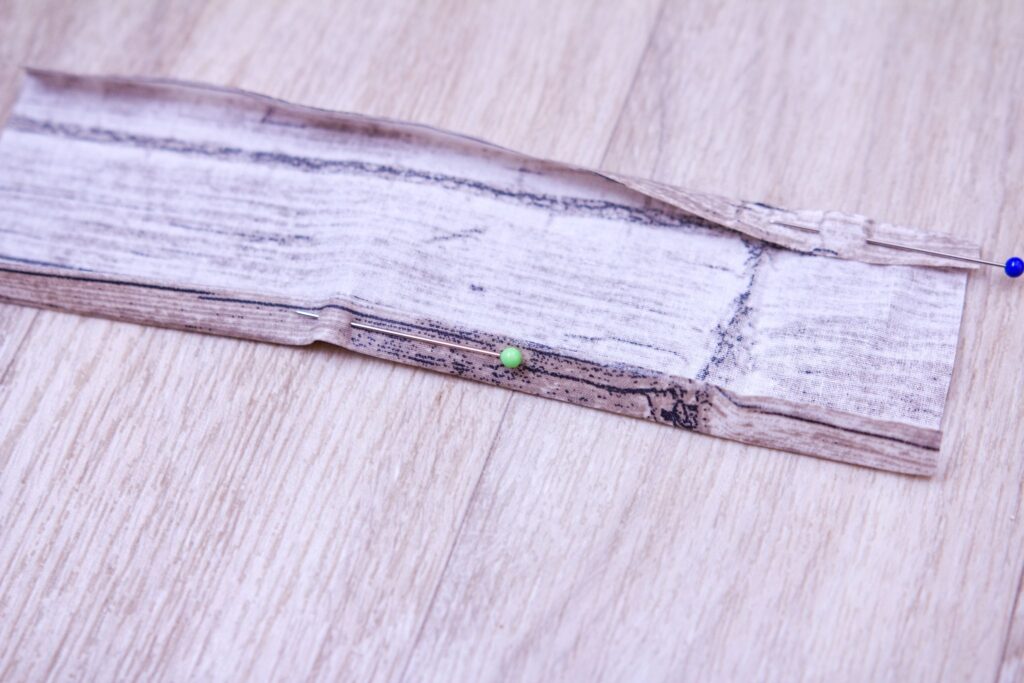
The detail of the fold before sewing.
Now, we will place the bottom on the pockets, pin it, and sew it.
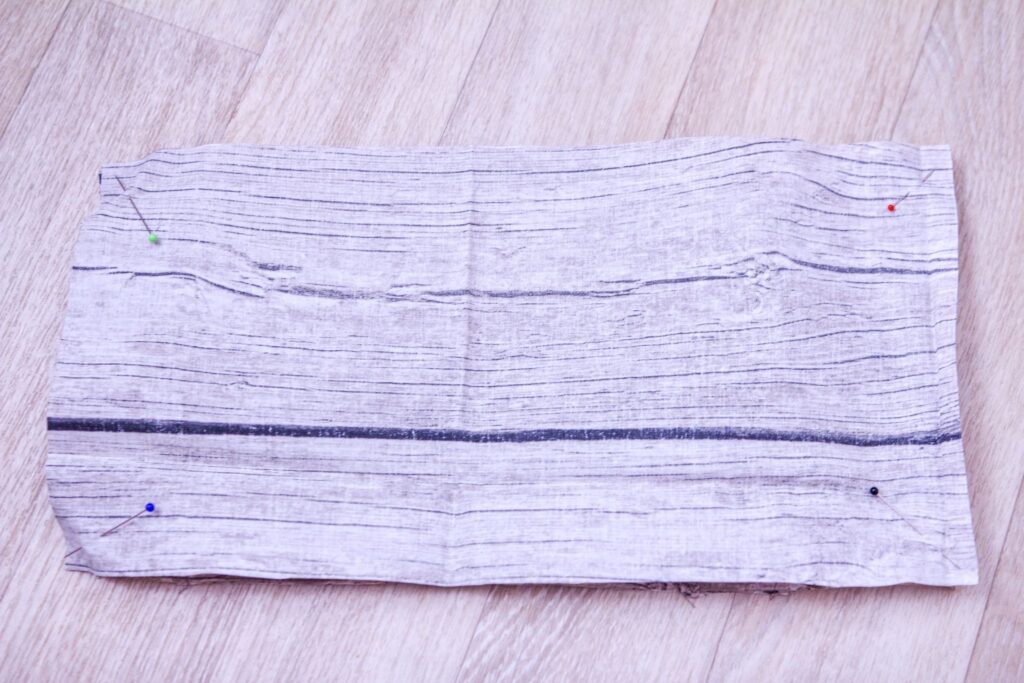
Next, we will place the bottom piece with the pockets and the second piece right sides facing and pin it.
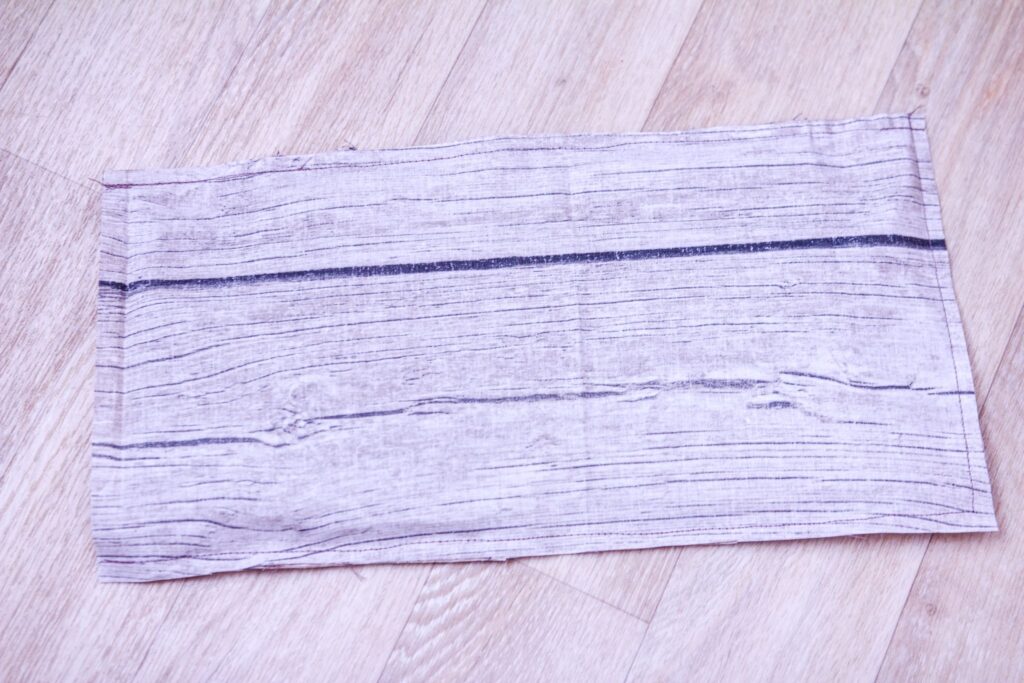
Now we can sew the two pieces together on three sides.
Then, we turn the finished bag organizer to the right side.
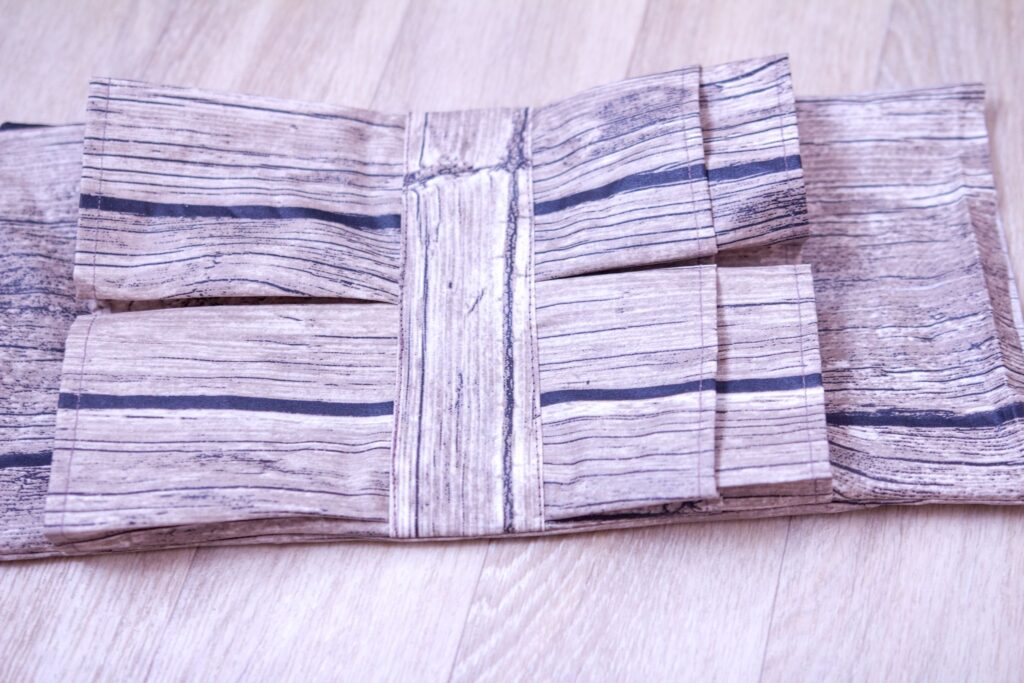
Finally, we insert a piece of cardboard and sew the last side.

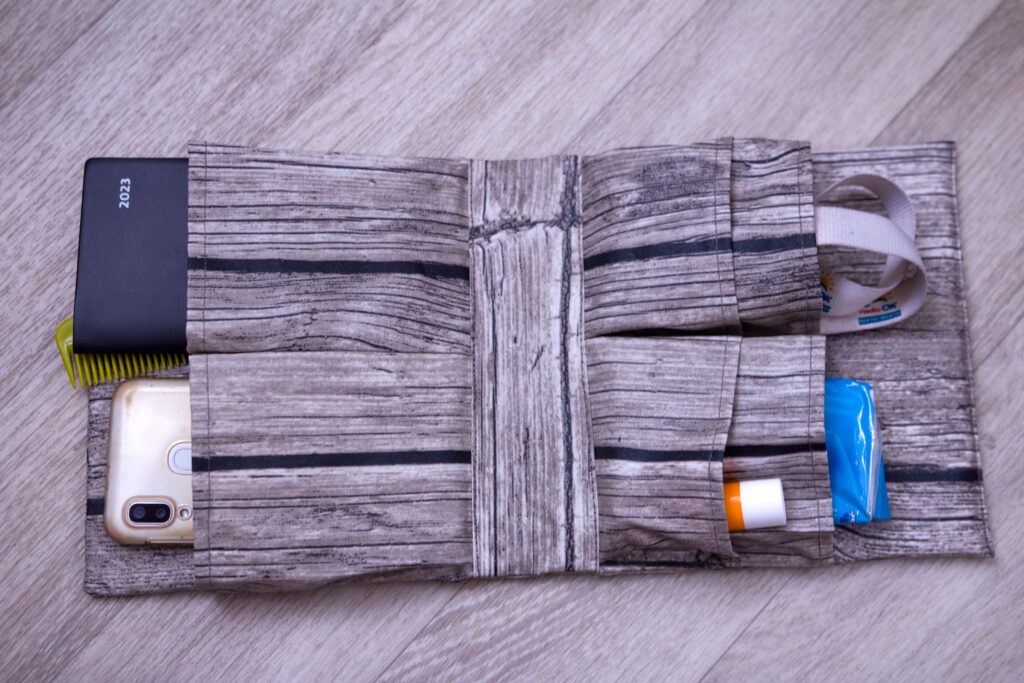
Finally, the finished purse organizer.