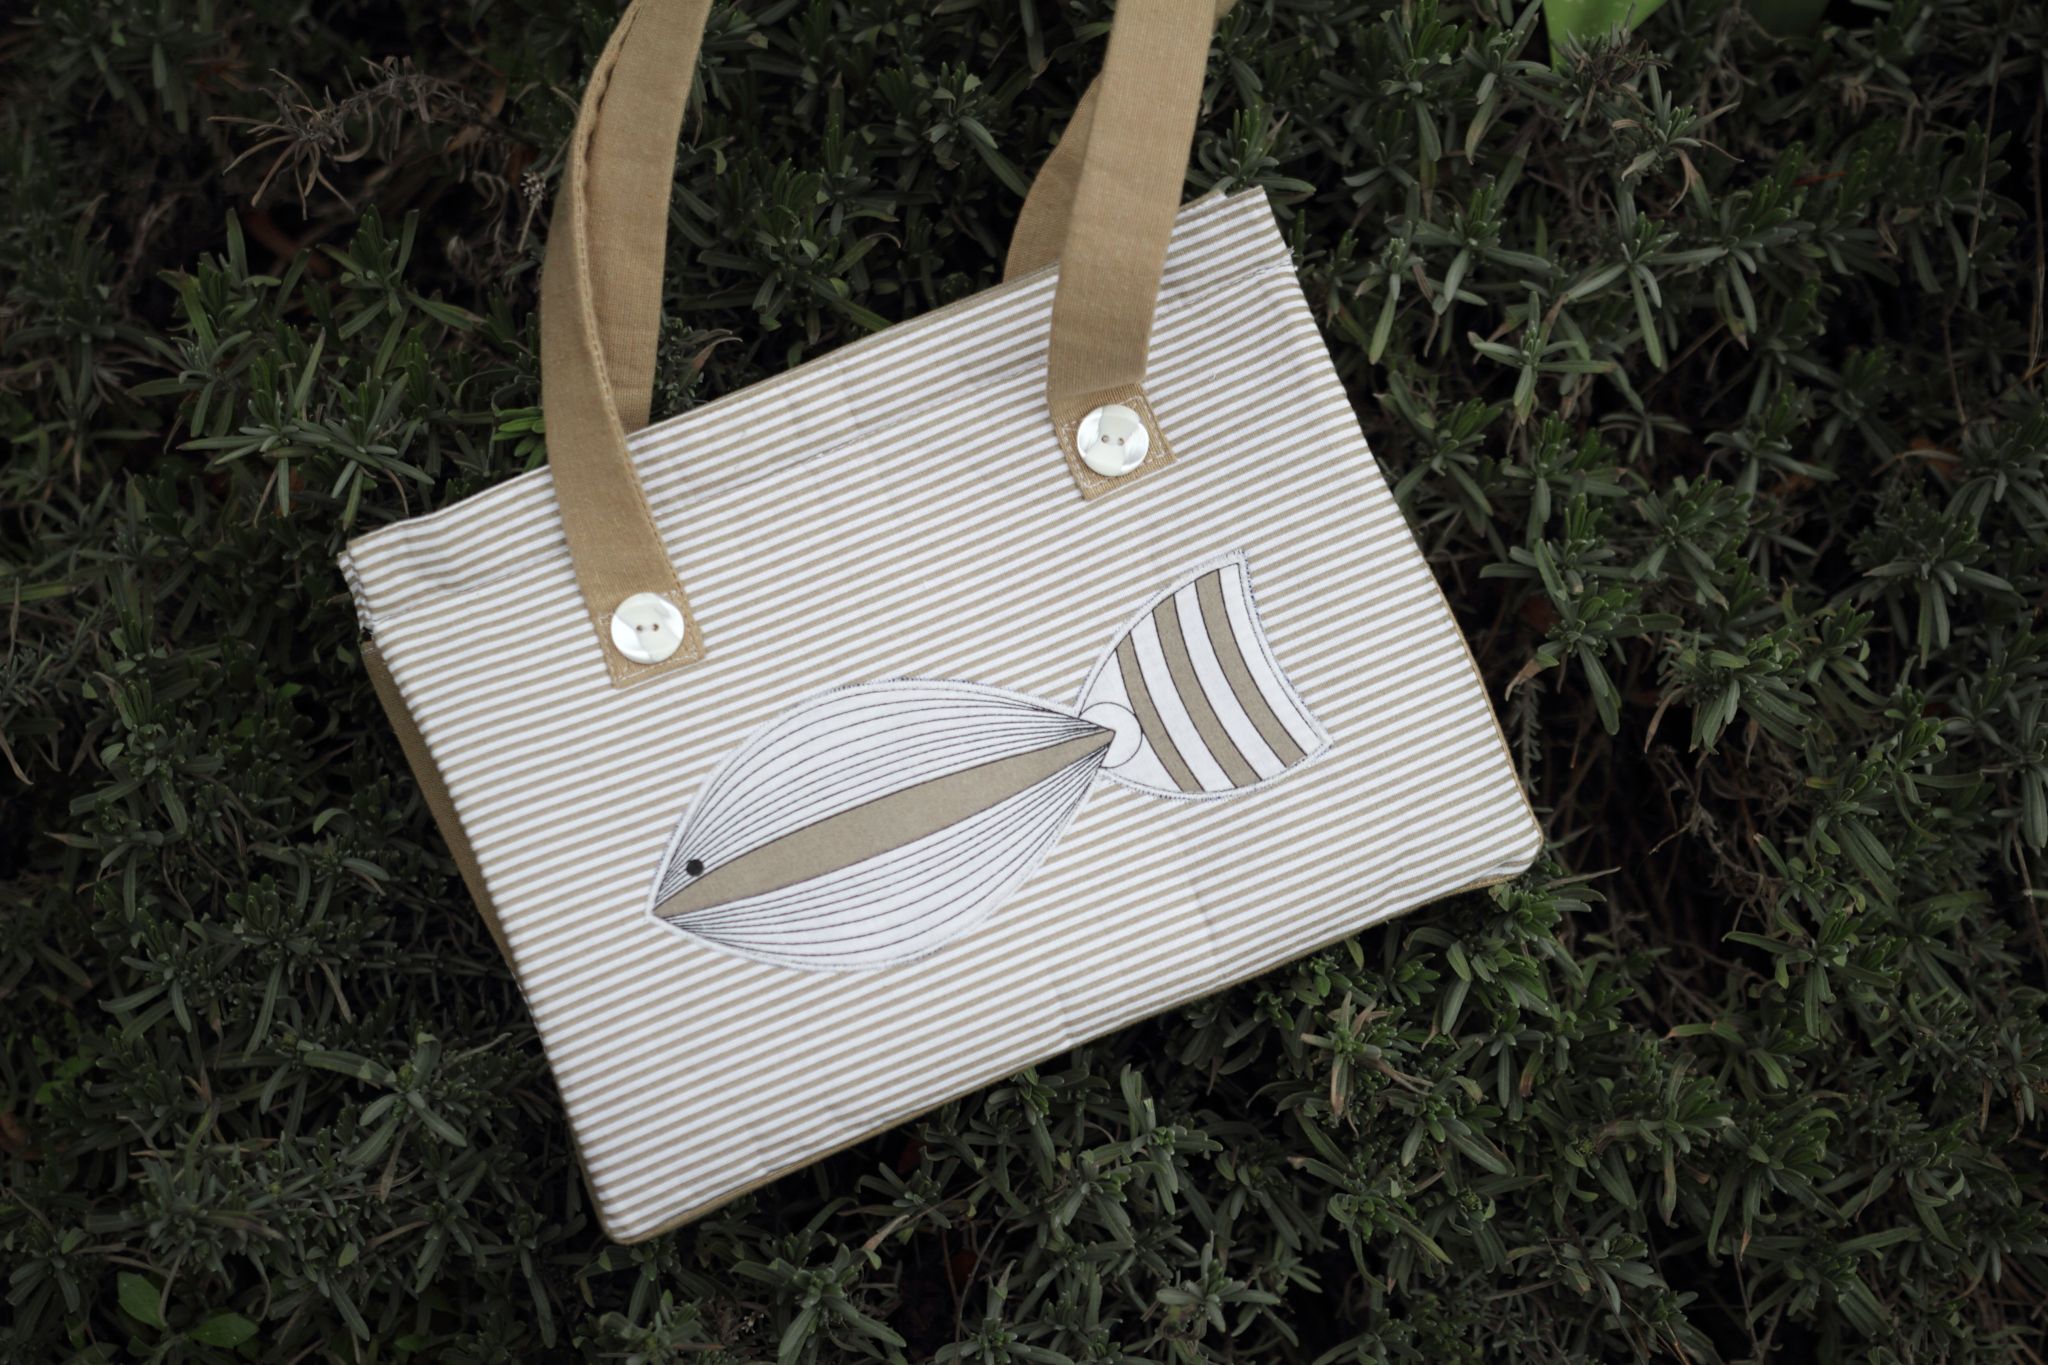
Making your own purse is a great way how to have a unique piece in your wardrobe. In this tutorial, I will show you how to make easier purse. The handbag is 11 inches wide and 7 inhes high.
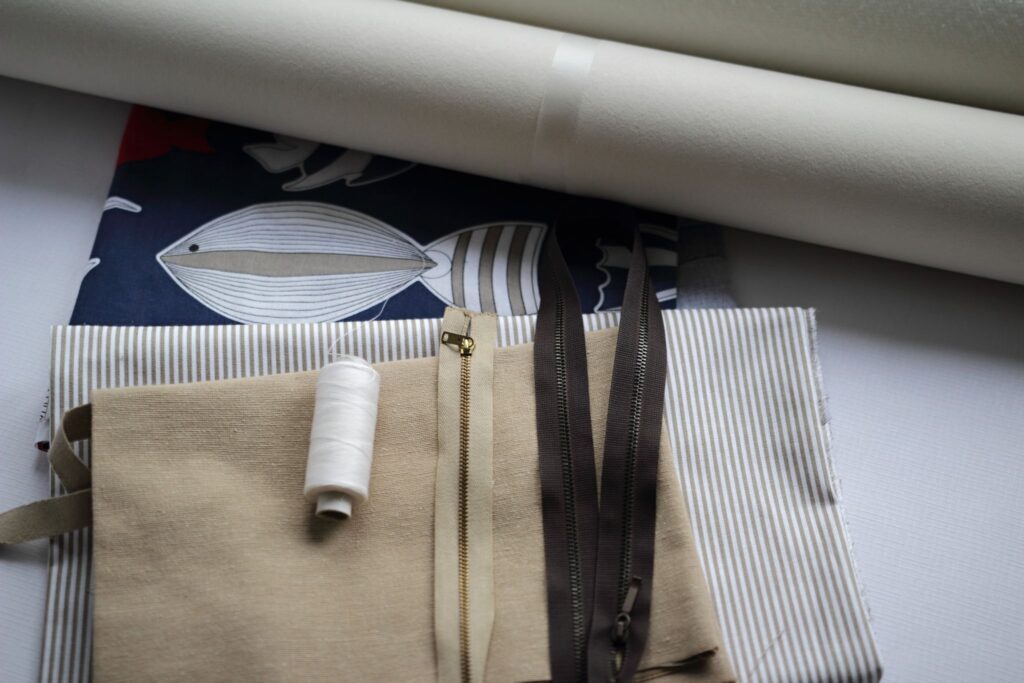
We will need the following material:
- striped cotton fabric – 10 inches
- ecru fabric- 16 inches
- colorful fabric with fish
- Decovil interfacing – 2 in
- Ronofix single-sided adhesive fusible interfacing – 12 in
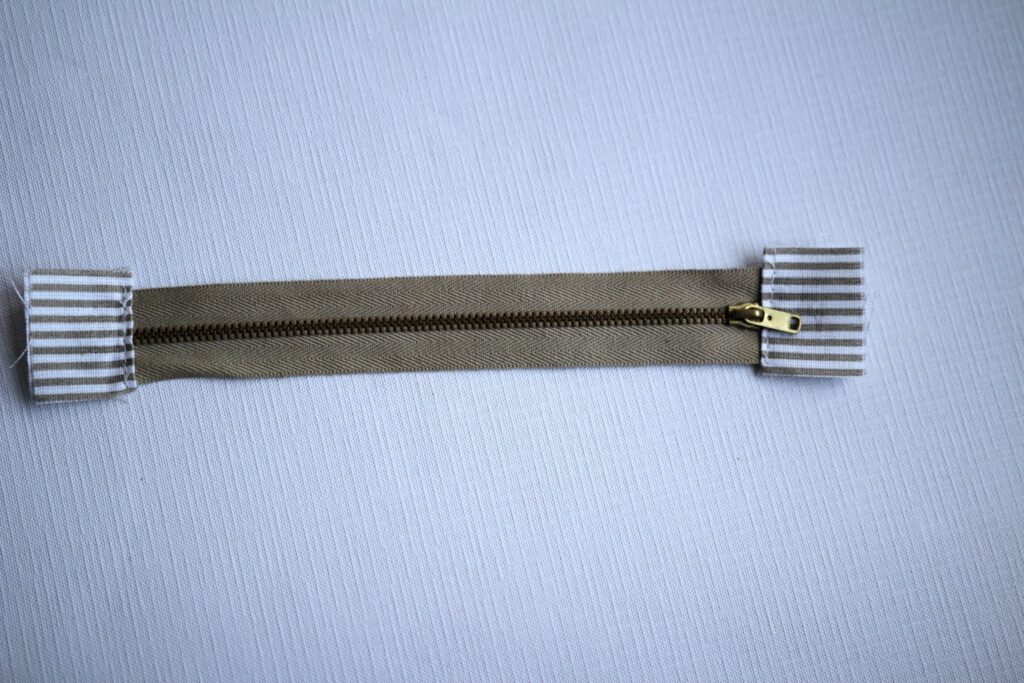
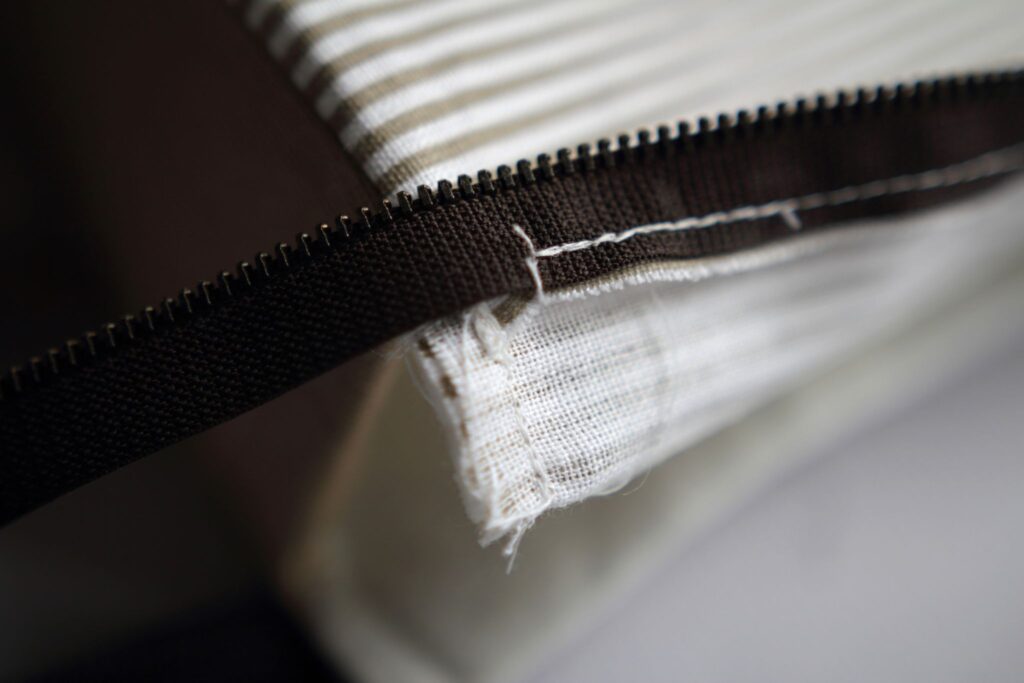
- zipper for inner pocket – 7 in
- zipper – 16 in
- threads in the same color as fabrics

For the purse, we will cut the front piece (FP) and back piece (BP), side piece, and pocket. And 2 in x 60 in strip for the purse’s handles as indicated on the pattern above.

For the surface of the purse, we will cut the FP and BP from the striped fabric and the same from Ronofix interfacing but this time shorter – only to the fold to allow sew the seam. Next, we cut the side part from the ecru fabric and Decovil interfacing – also smaller to the marks of the sews, the handle from the ecru and Ronofix interfacing, and cut out the fish from the colored fabric. We will make three cuts in the FP and BP (where the fold and zip will be)

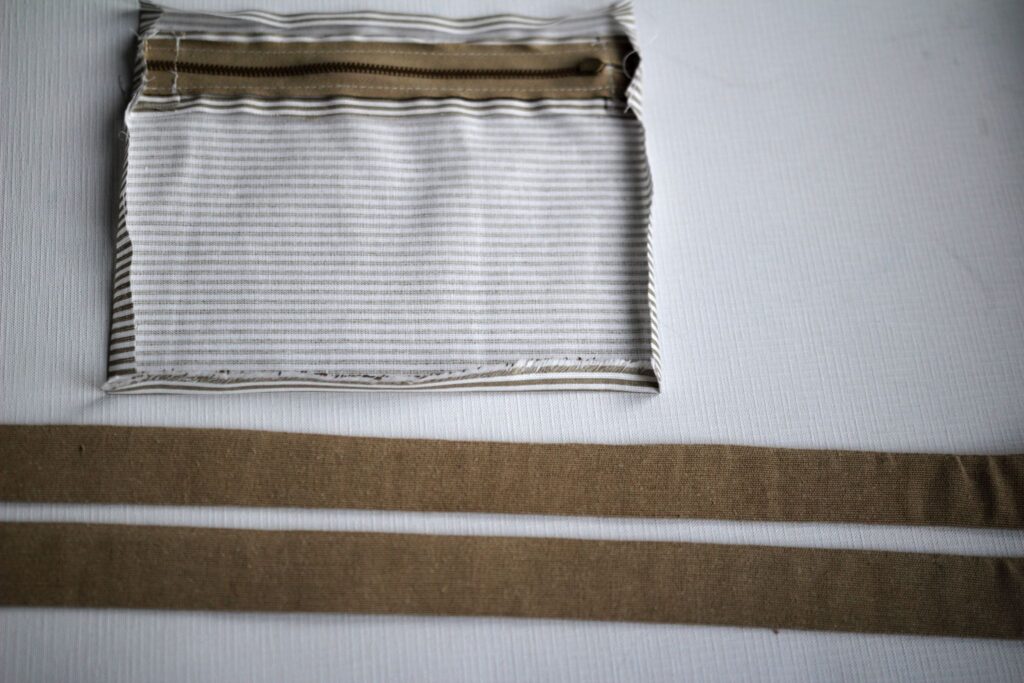
For the lining of the purse, we will cut out the FP and BP from the ecru fabric, shorter on the top, on the third line on the pattern + 0.4 in for folding, side interfacing, and pocket from striped fabric.
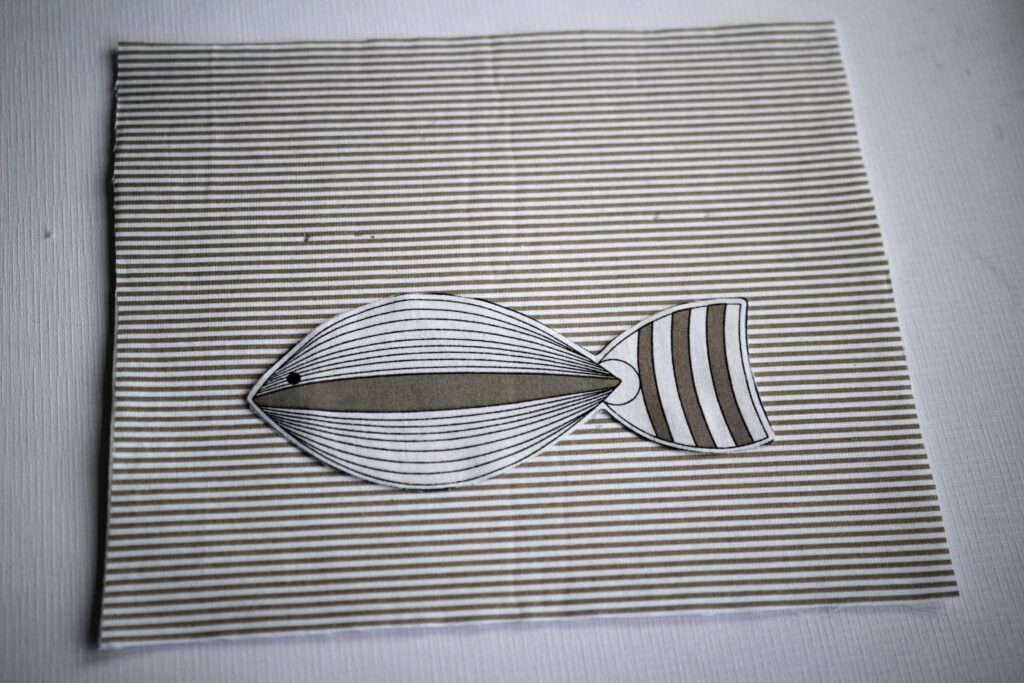
Next, we place the interfacing with the adhesive side to the wrong side of the fabric and iron all the interfacing to the individual pieces through a cloth. Mark the placement of the handle on the FP and place the fish on the fabric.
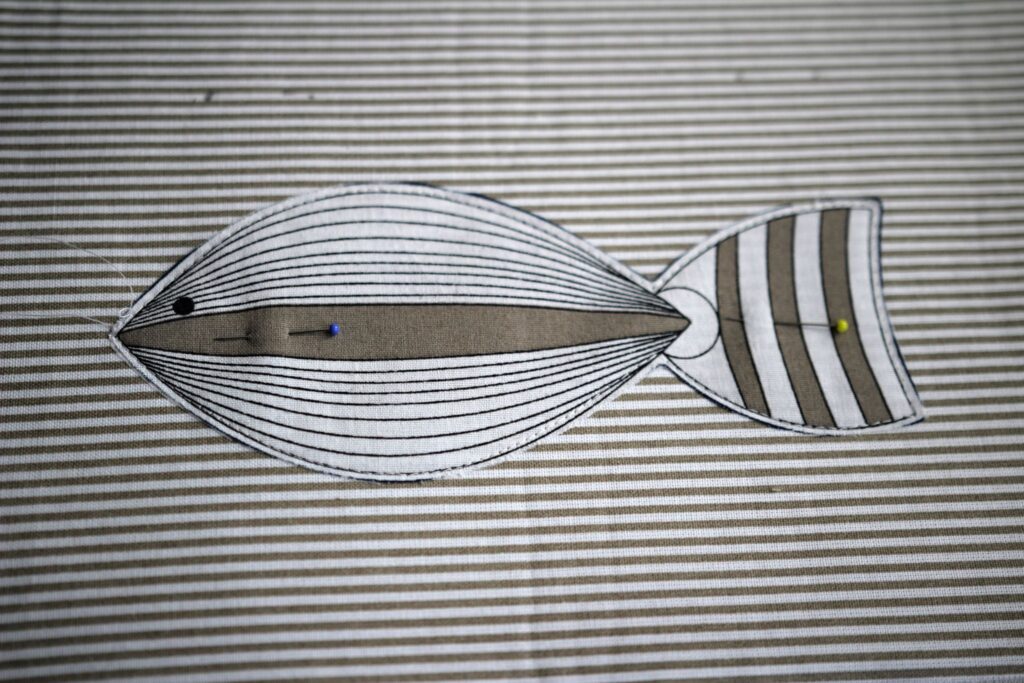
Next, we will pin the fish to the fabric and sew in the edges.

Now we can sew the edges of the fish with a zig-zag stitch. The thickness of the stitch we can try on the rest of the fabric.
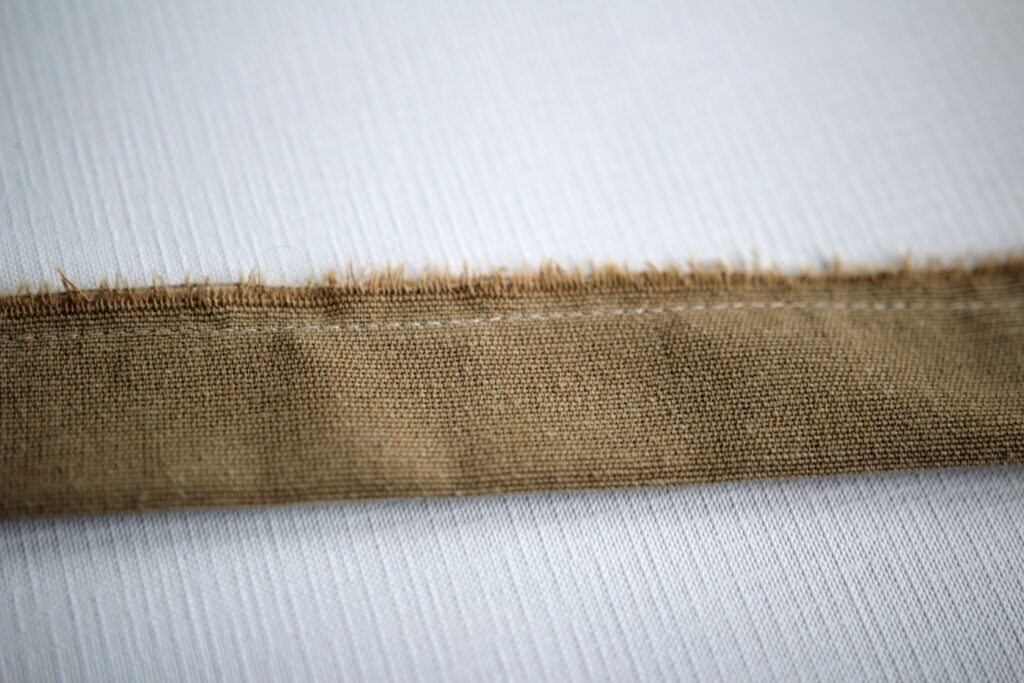
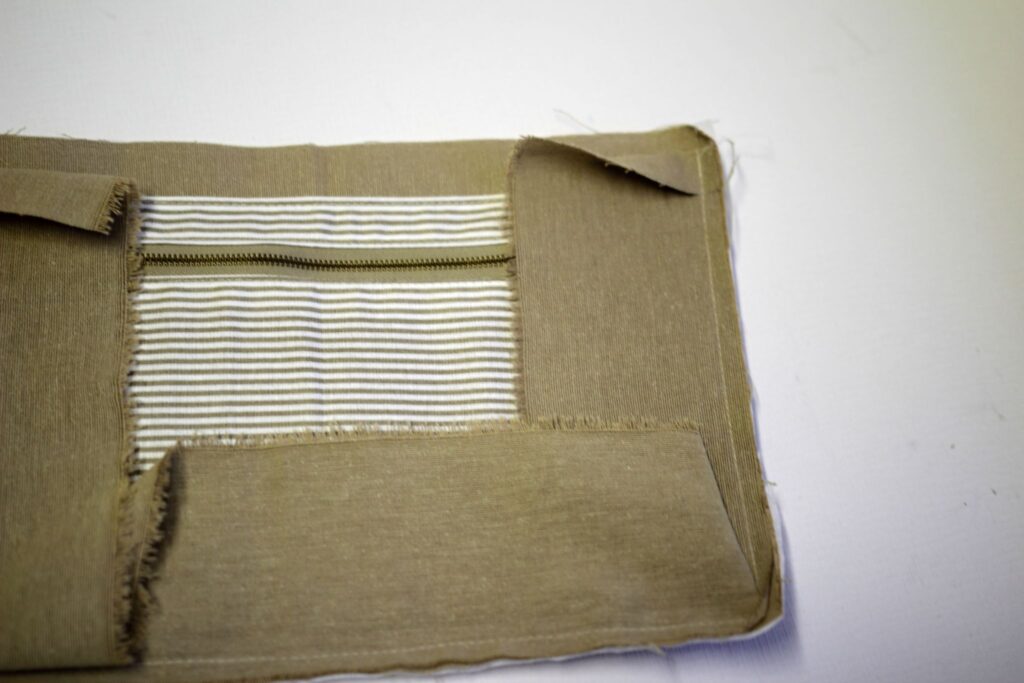
Let’s move to sew the pocket: fold the strip of material in half and sew on each side of the zipper.

Next, we sew the lower part of the pocket to the lower edge, fold 0.4 in of the pocket and sew on the top. Sew a thin strip on the other end of the zip in the same way.
And now, the handle: we fold the handle fabric right sides together in half, and sew on the bottom end.
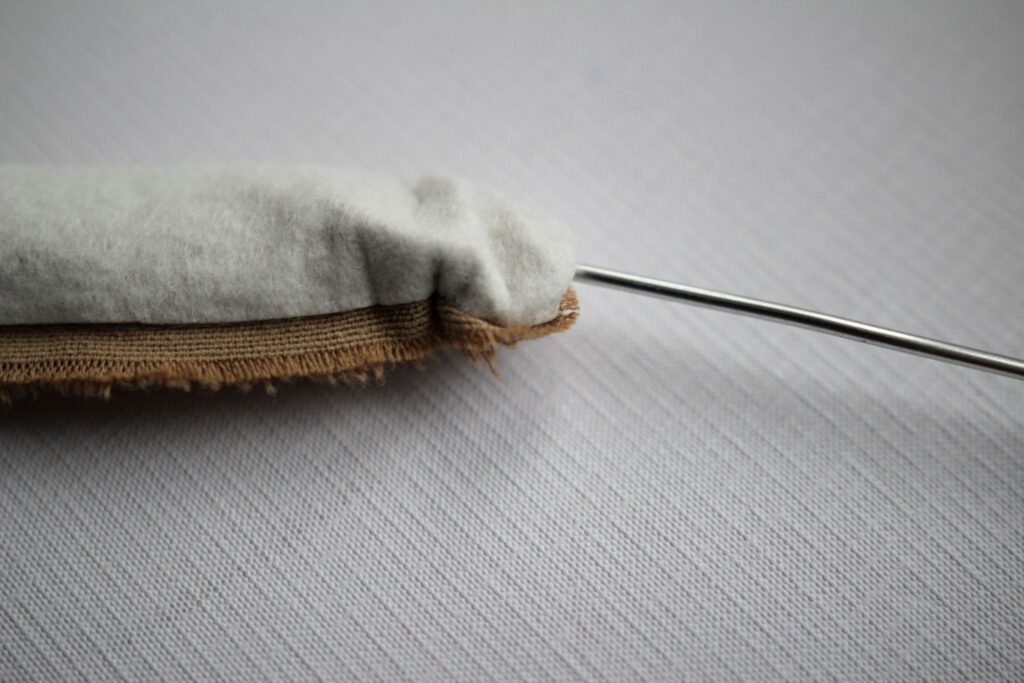
Time for turning the hand to the right side, we can use for example knitting needle.
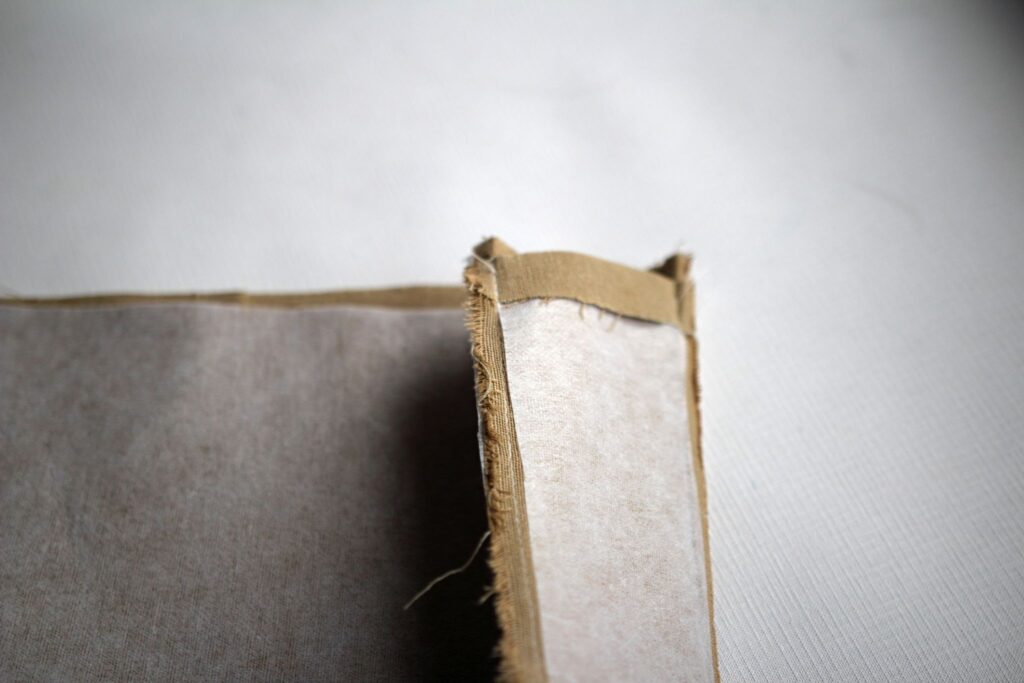
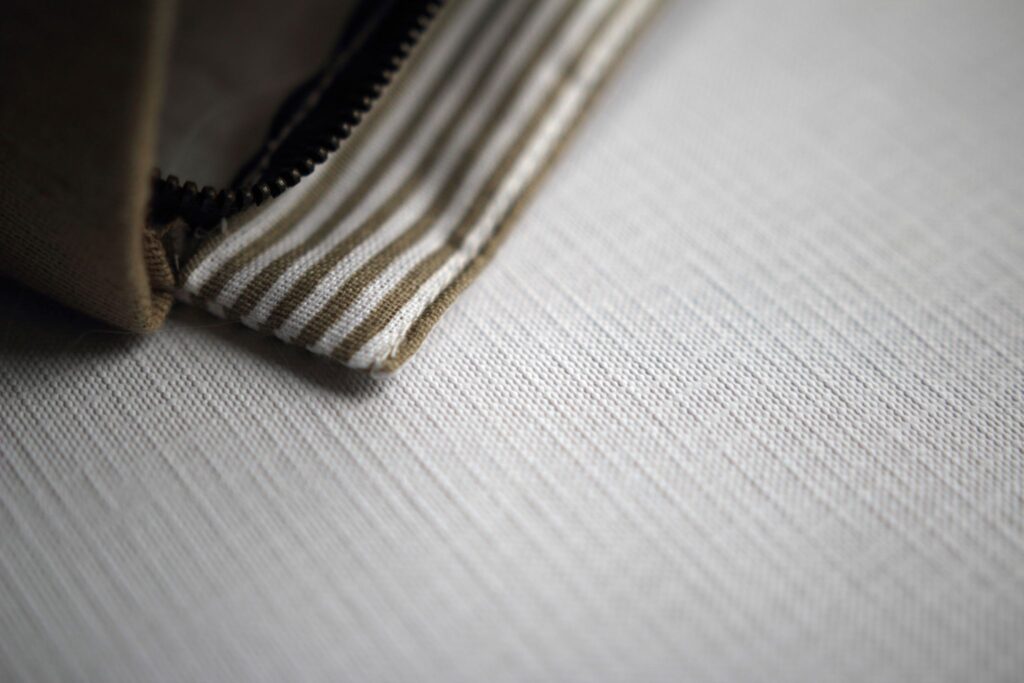
Then we will fold 0.4 in of the pocket on each side, and iron it. We also iron the handles.

Next, we pin the pocket to the center of the lining piece.

We will sew all around the edges of the pocket.

Then we will place the handles in place according to the marking facing down (line with interfacing on the outside) and sew on by the edges.
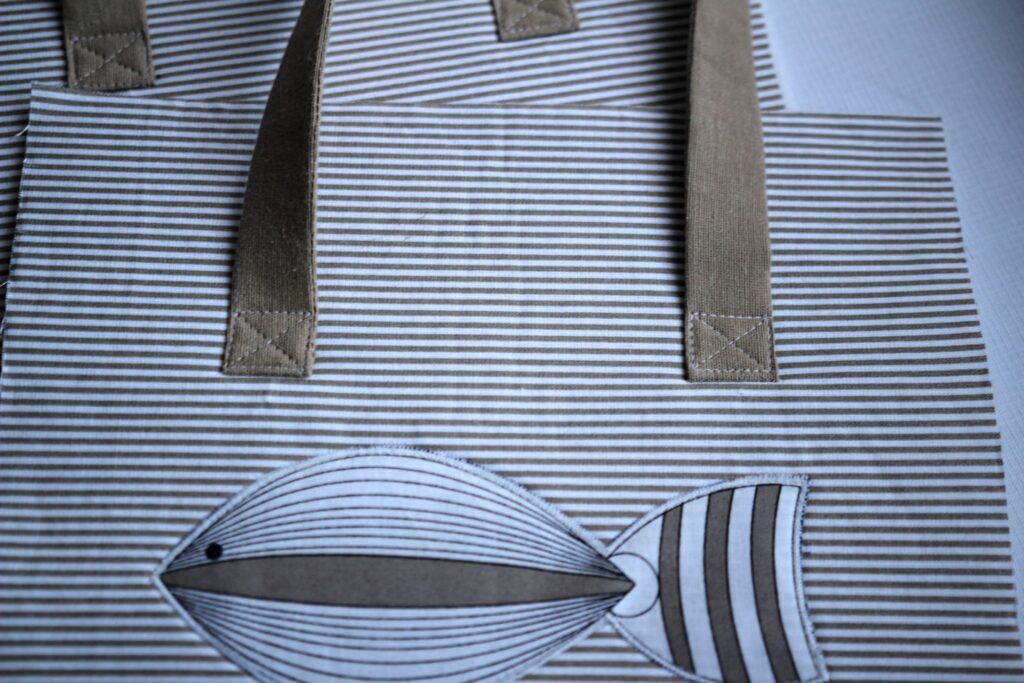
Now we can flip the handle upwards, and sew a square, and also cross for a stronger seam.

Let’s sew the side of the purse to the FP right sides together; start sewing from the center and finish at the 3rd cut.

Sew on the BP the same way, fold the side of the purse 0.8 in into the underside.
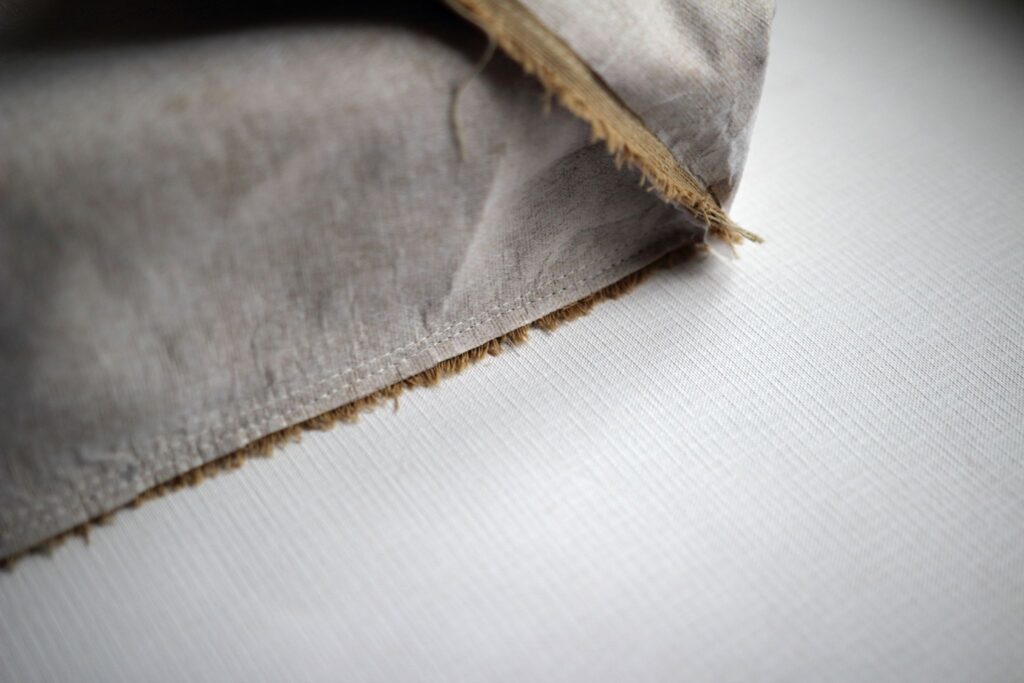
Also sew the sides of the lining pieces, start sewing 0.4 in from the top edge.
We will make cuts in the corners.
Now, we will sew on the second piece to the side of the purse.

We will sew the zipper on the front piece with right sides together.

Once again we sew the zip – now to the second piece.
We fold the top of the bag in the crease and sew the right sides together
We turn the right side out and sew the edge in the fold.
Now we will place the piece from the top fabric and the piece from the lining on each other by the bottom, and sew around the bottom next to the seam.
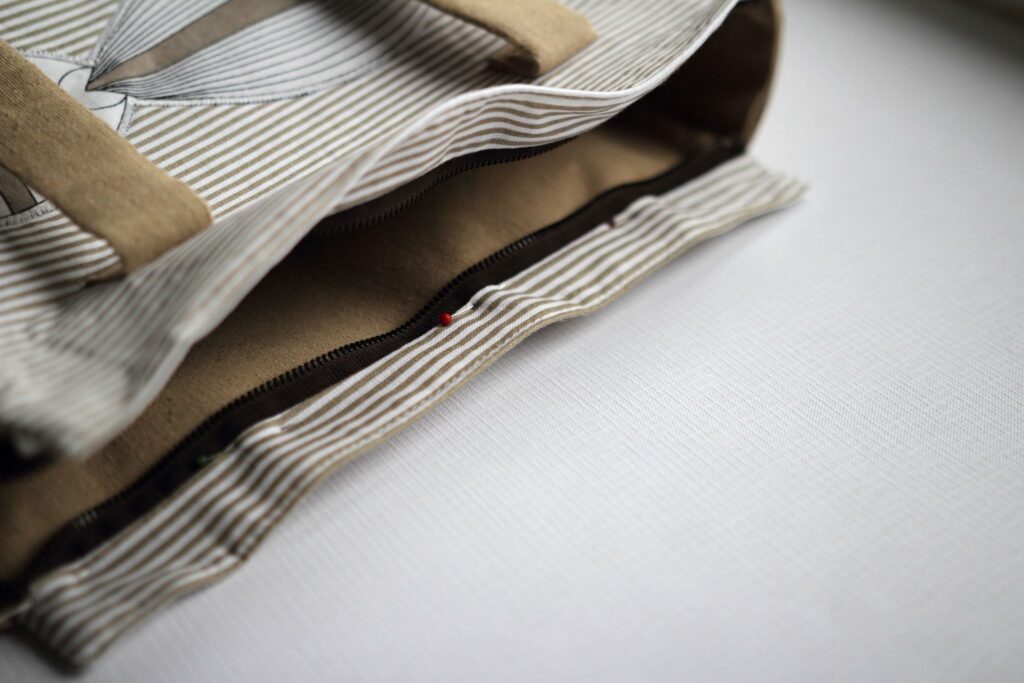
Now we can turn the purse right side out, insert lining under the zip, and pin.

Now we baste the purse all around and sew on the machine.

On the side part, we sew the purse together with an overcast stitch.

We can remove the lining stitches. This is what the purse looks like inside.
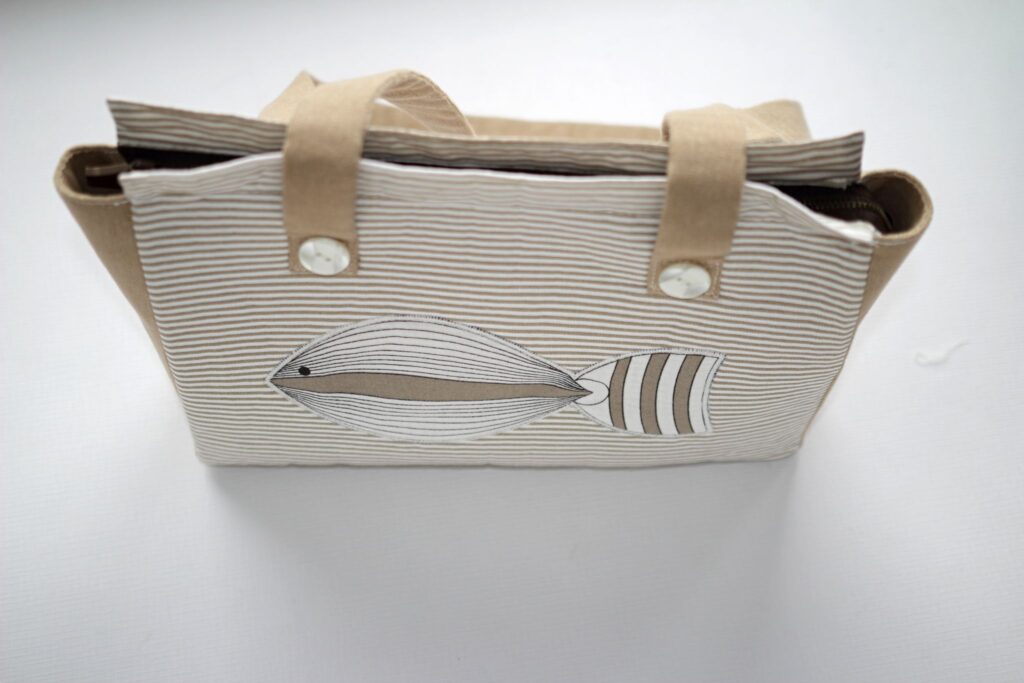
Finally, we will sew buttons on the front piece of the handles.