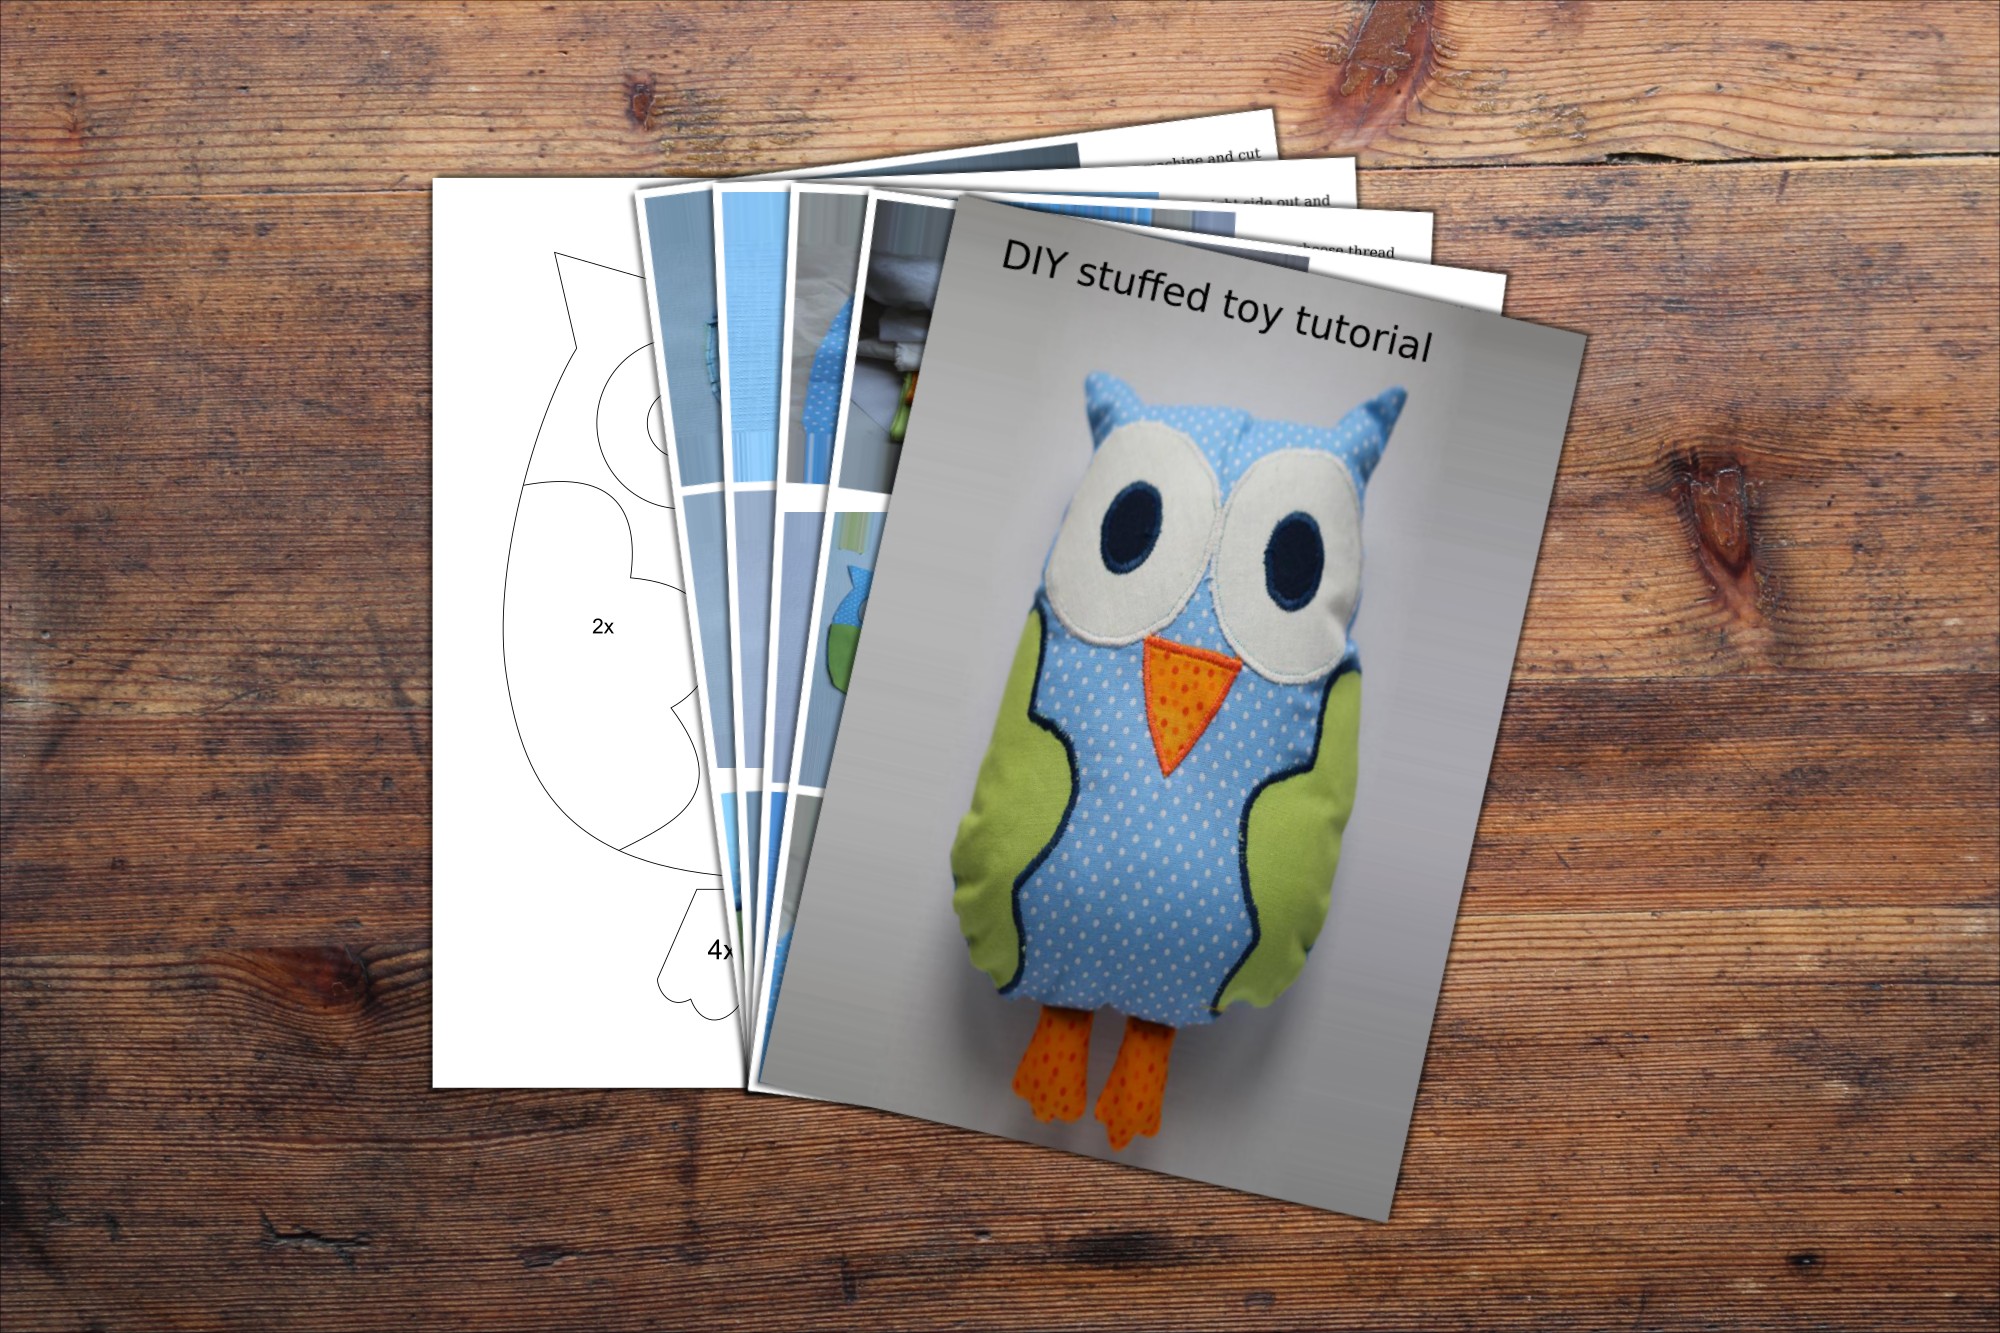
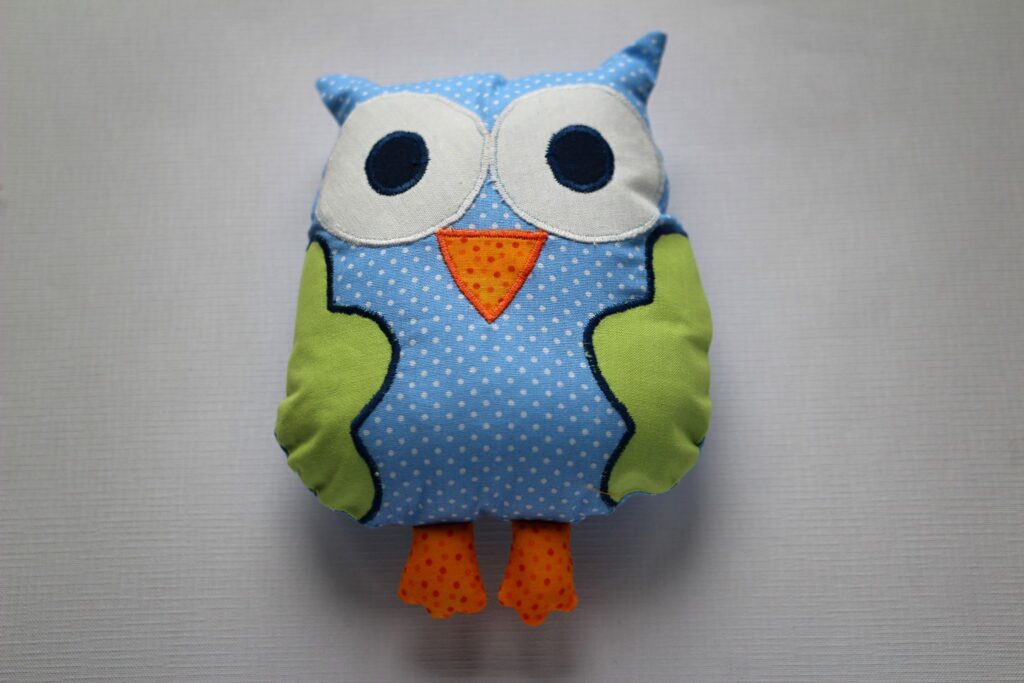
In this tutorial, I will show you step-by-step how to make a DIY stuffed animal. I’ll guide you through the entire process of making a stuffed animal. What is a better gift for a new mom or child than a handmade gift? Let’s get started on creating a soft and adorable plushie.
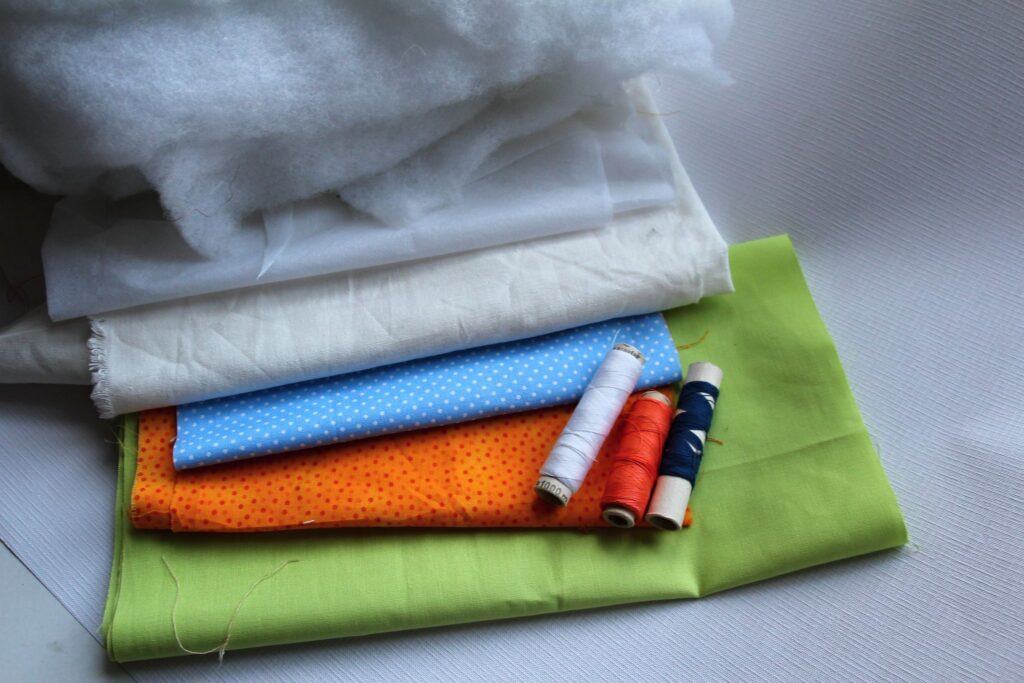
To create a soft toy, except basic equipment for sewing, you will also need the following material:
- Cotton fabrics according to your choice for your stuffed animal
- Vlizelin interfacing to give your plushie shape and structure
- Wadding to fill your stuffed animal and make it soft
- Threads in matching colors to your fabrics
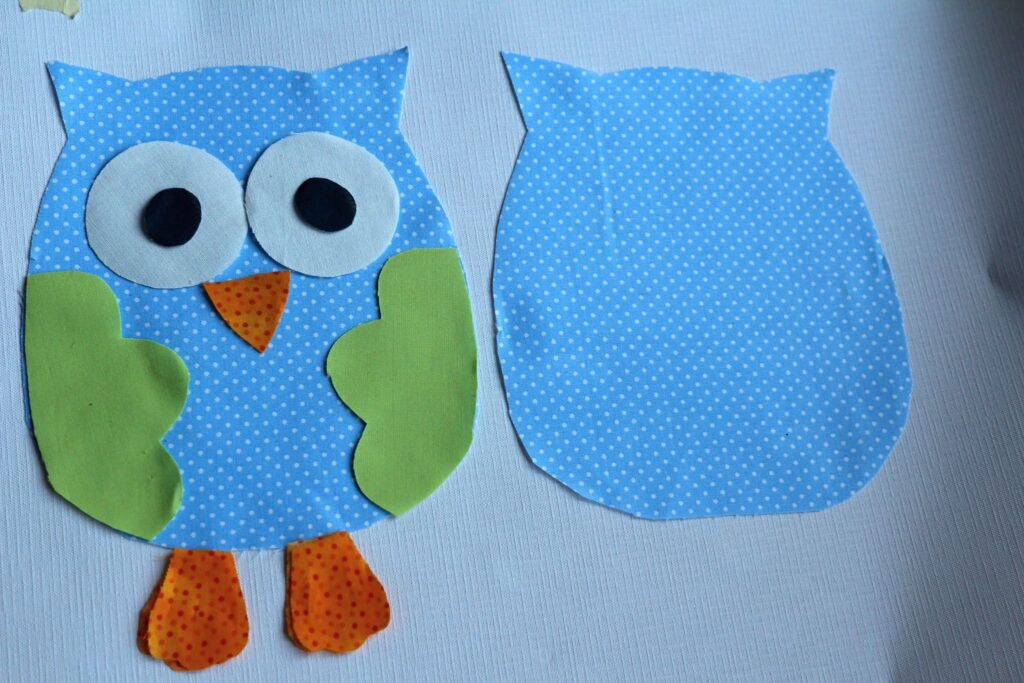
To begin, cut out the fabric for your stuffed animal according to the provided sewing pattern. Once you have cut out all the necessary pieces, place the interfacing on the fabric for the eyes, beak, and wings. This will give these parts of your plushie extra shape and structure. Use an iron to adhere the interfacing to the fabric.
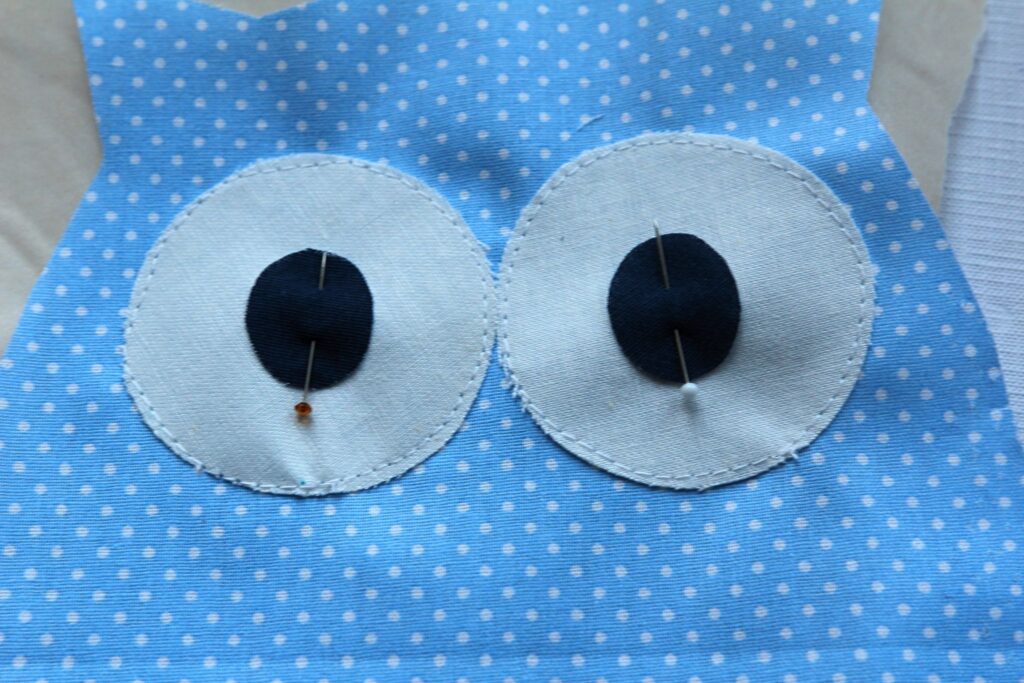
Next, take the top piece of your stuffed animal and lay it flat on your work surface. Pins the other part onto the top piece, positioning them according to the provided sewing pattern. Once all of the pieces are pinned in place, you can begin sewing them together using a straight stitch. Start at one end of the fabric and sew along the edges of the pinned pieces, being careful to follow the pattern and keep your stitches even. Once you have sewn all of the pieces onto the top piece using a straight stitch, go back and reinforce the seams with a zig zag stitch. This will give your stuffed animal extra durability and ensure that the seams don’t come apart.
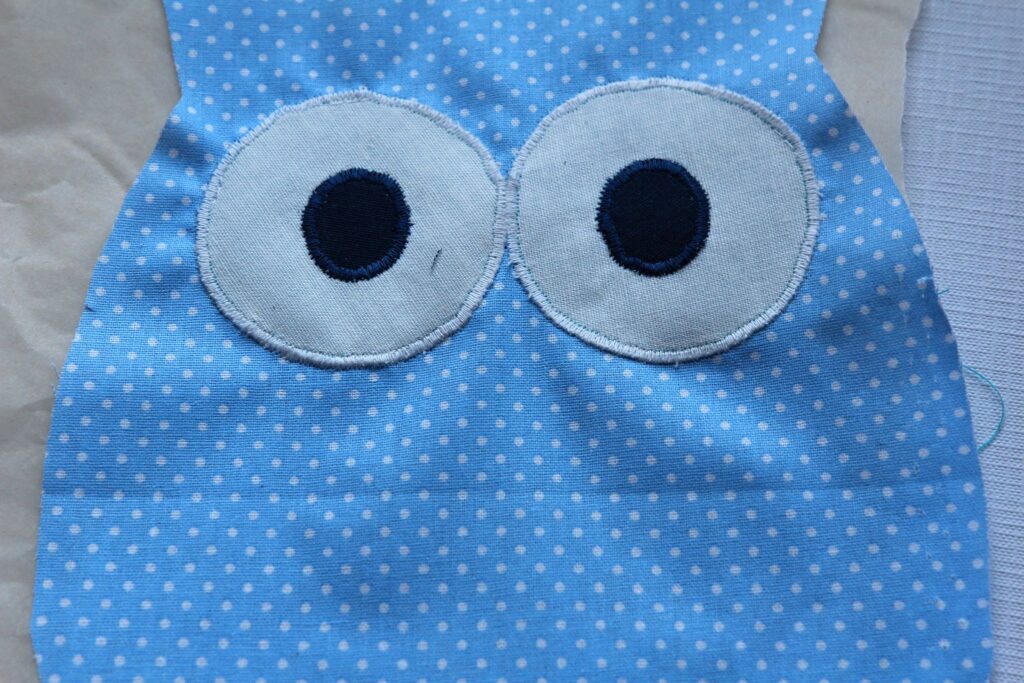
When sewing your stuffed animal, choosing a thread the same color as the fabric you use is beneficial. This will ensure that any unevenness or imperfections in your stitches are not visible. Additionally, a matching thread will give your plushie a professional and polished look.
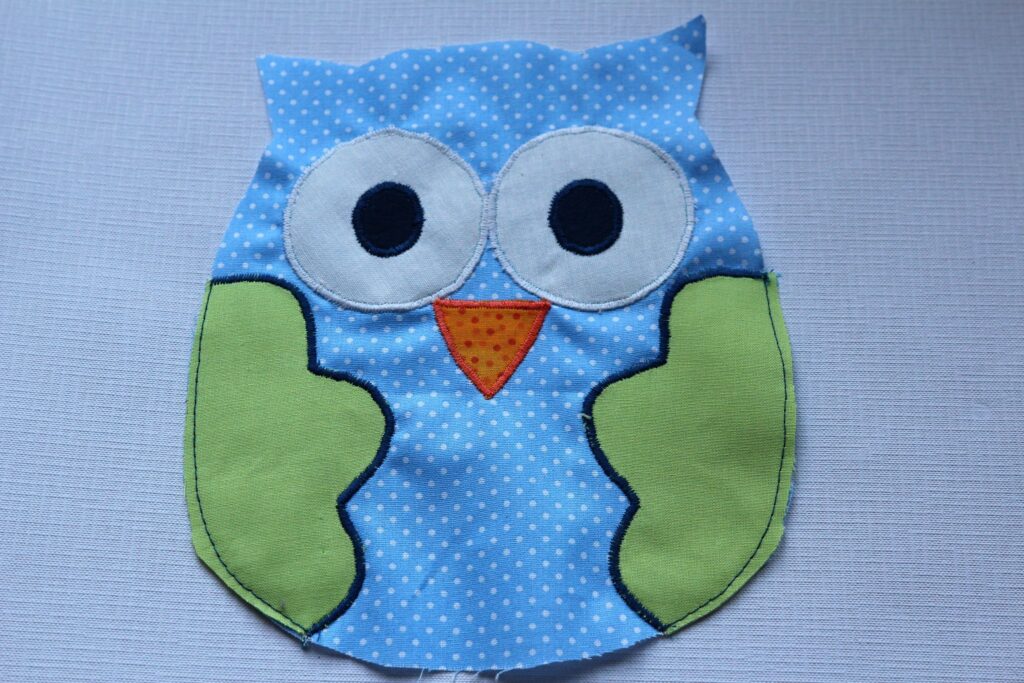
Gradually sew on all the pieces.
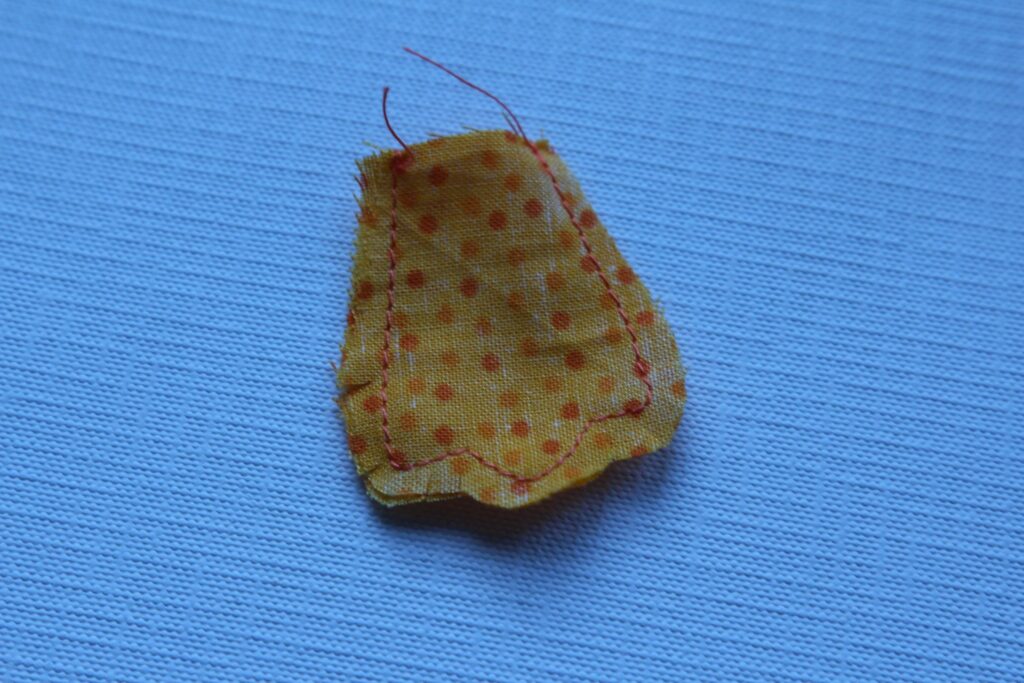
Sew the feet, place the fabric right sides together and sew around the edges, cut in corners and round edges.
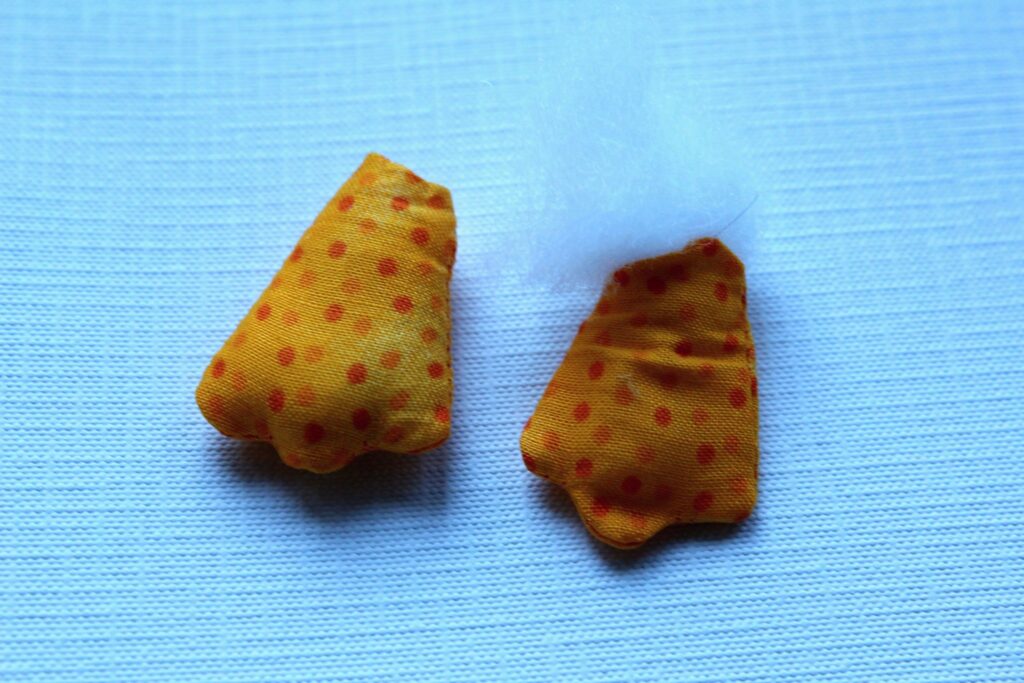
Turn the right side out and stuff the feet with wadding.
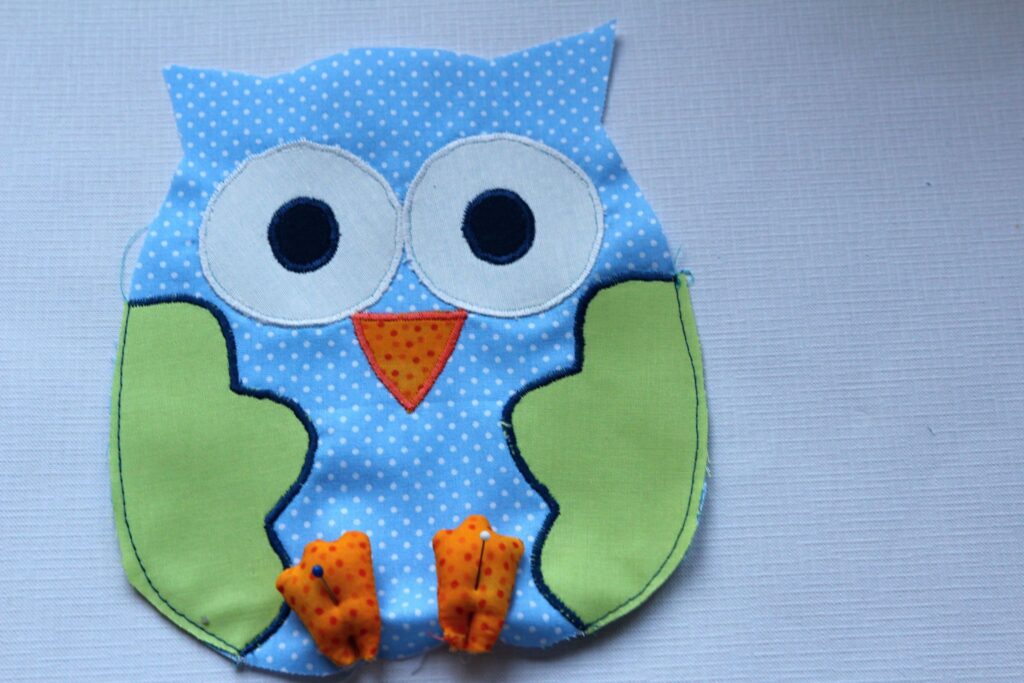
Pin on the feet to the owl, as shown in the picture.
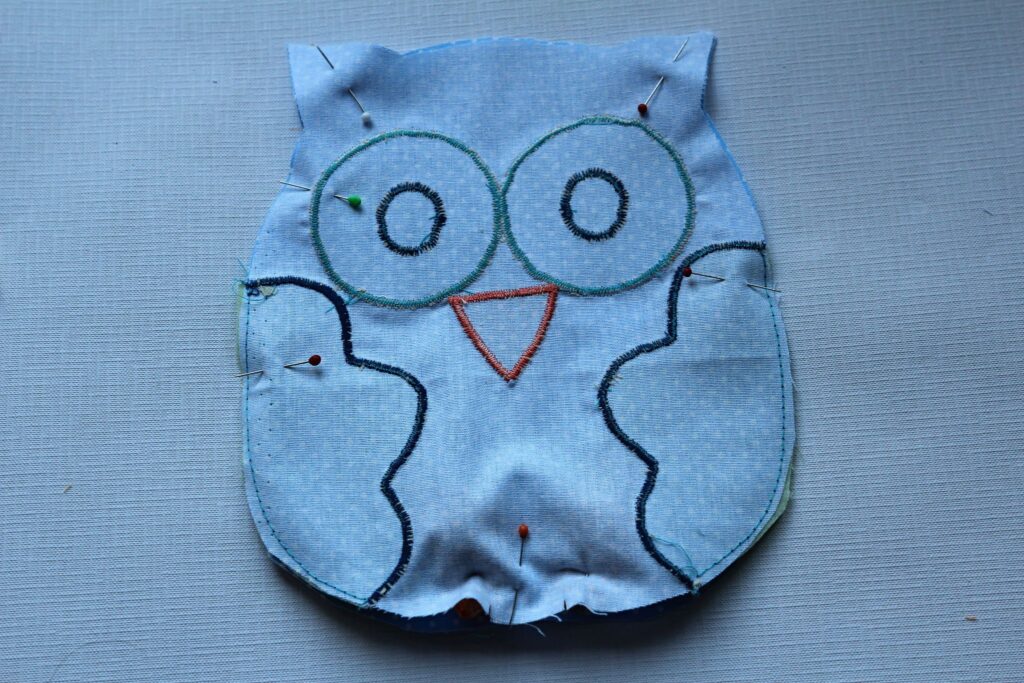
Place the owls right sides together and pin.
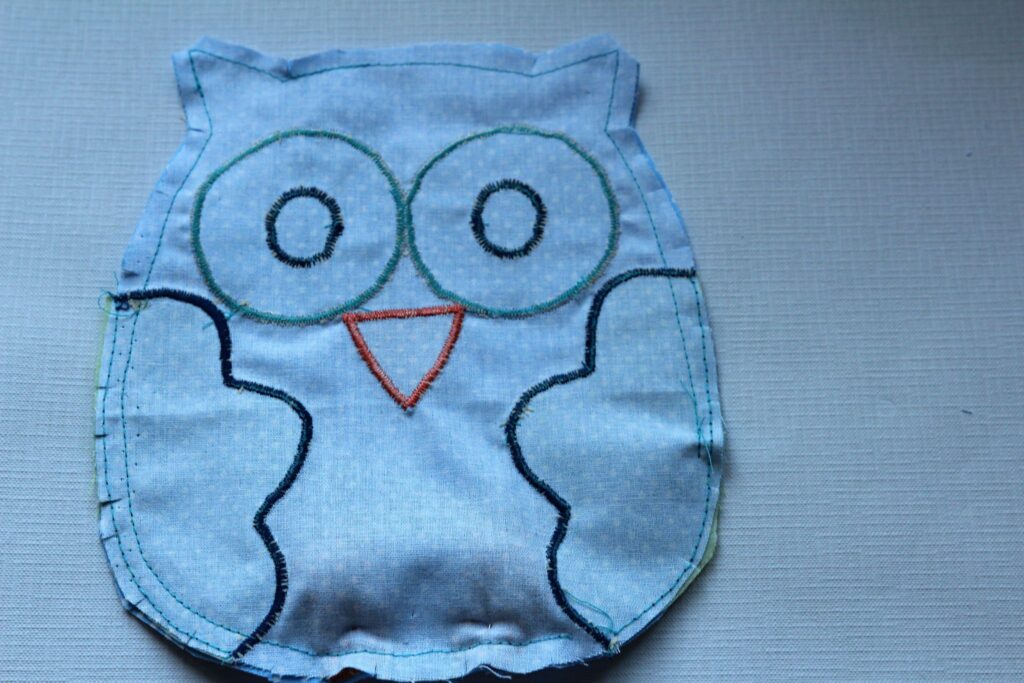
Sew on the machine and cut in round edges. Leave a 5m opening by the wing for turning out.
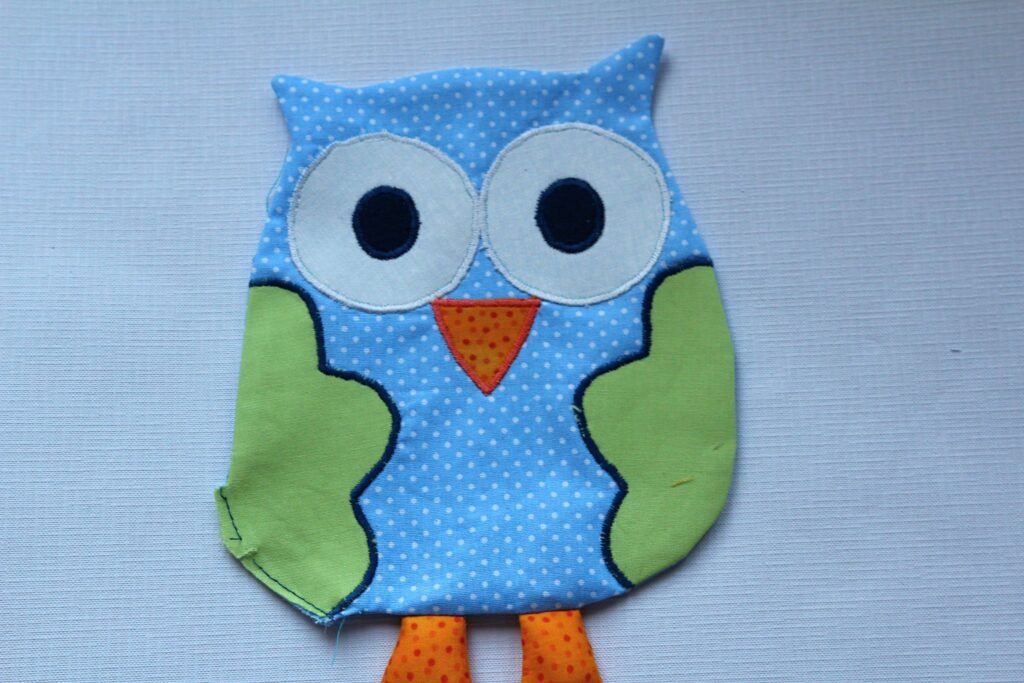
Turn right side out and stuff with wadding.
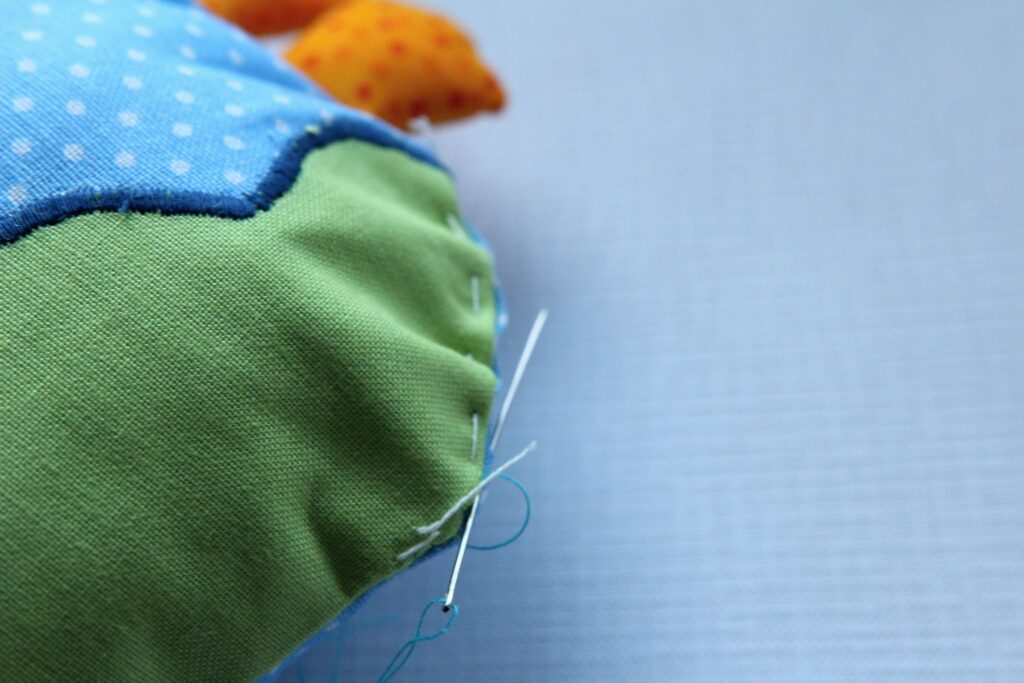
Stitch the opening and hand sew shut.